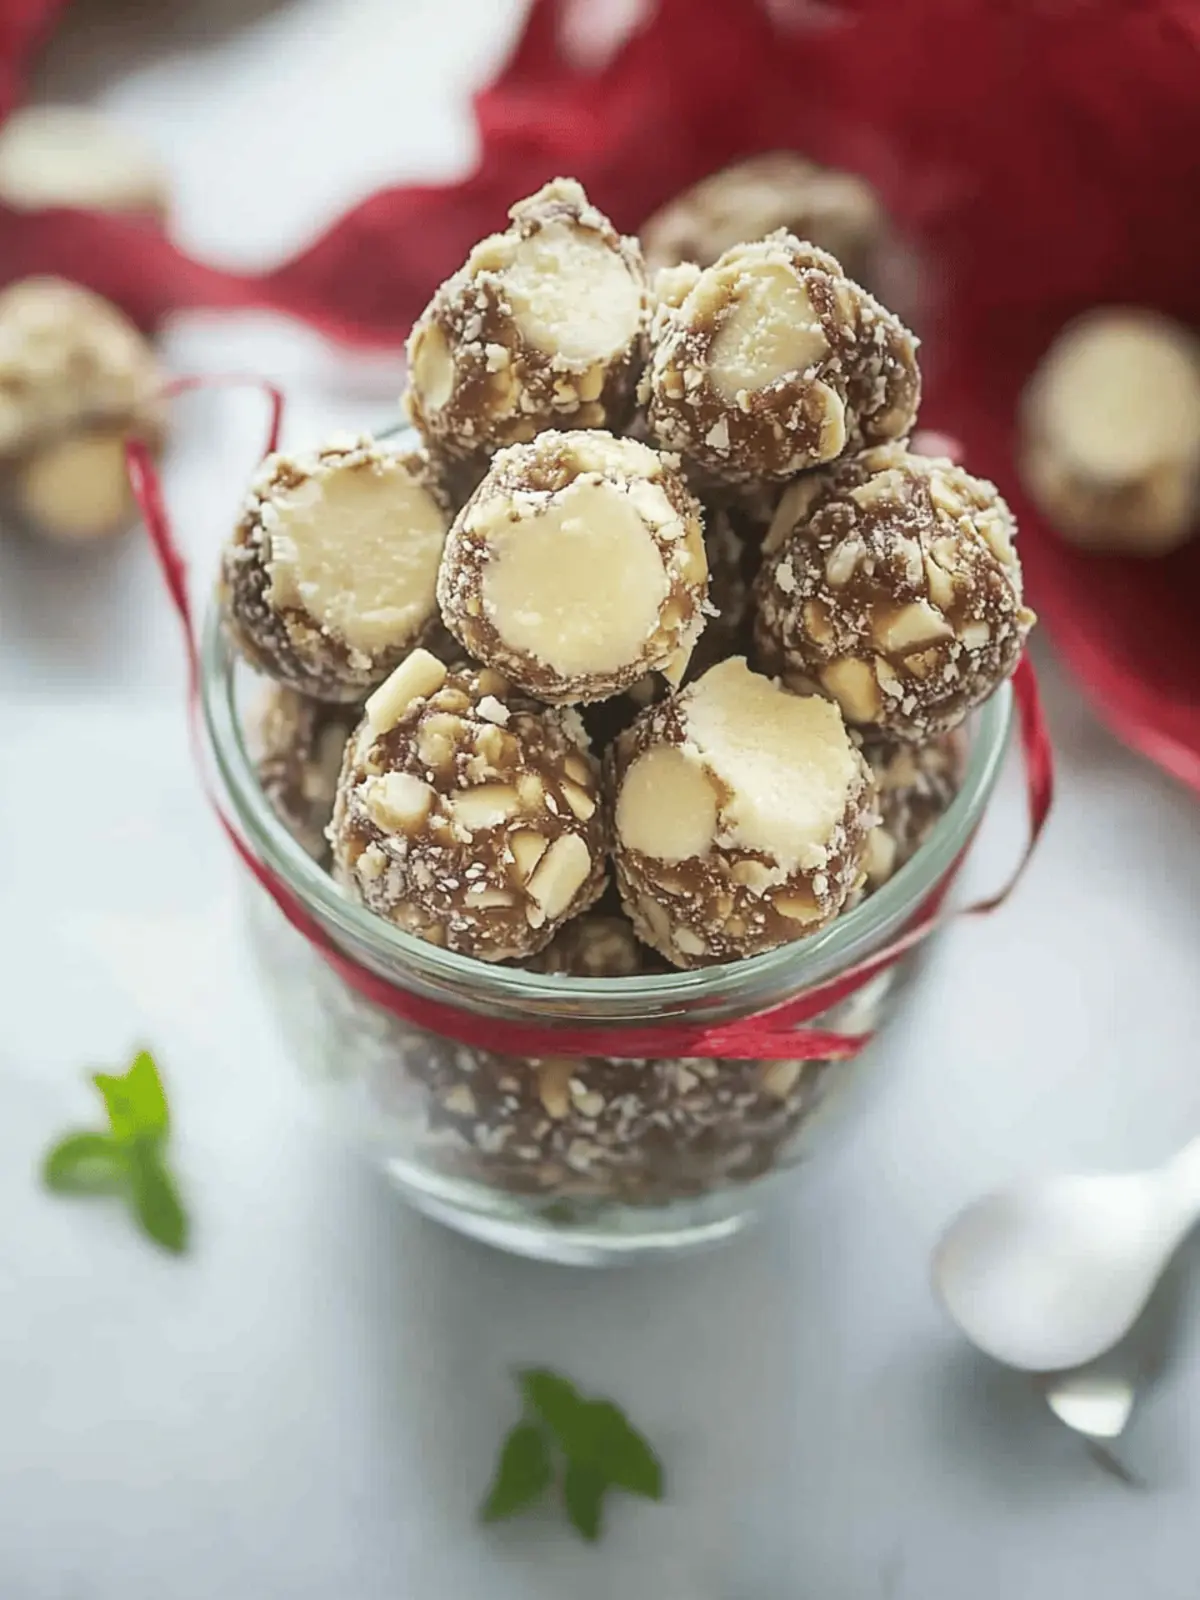
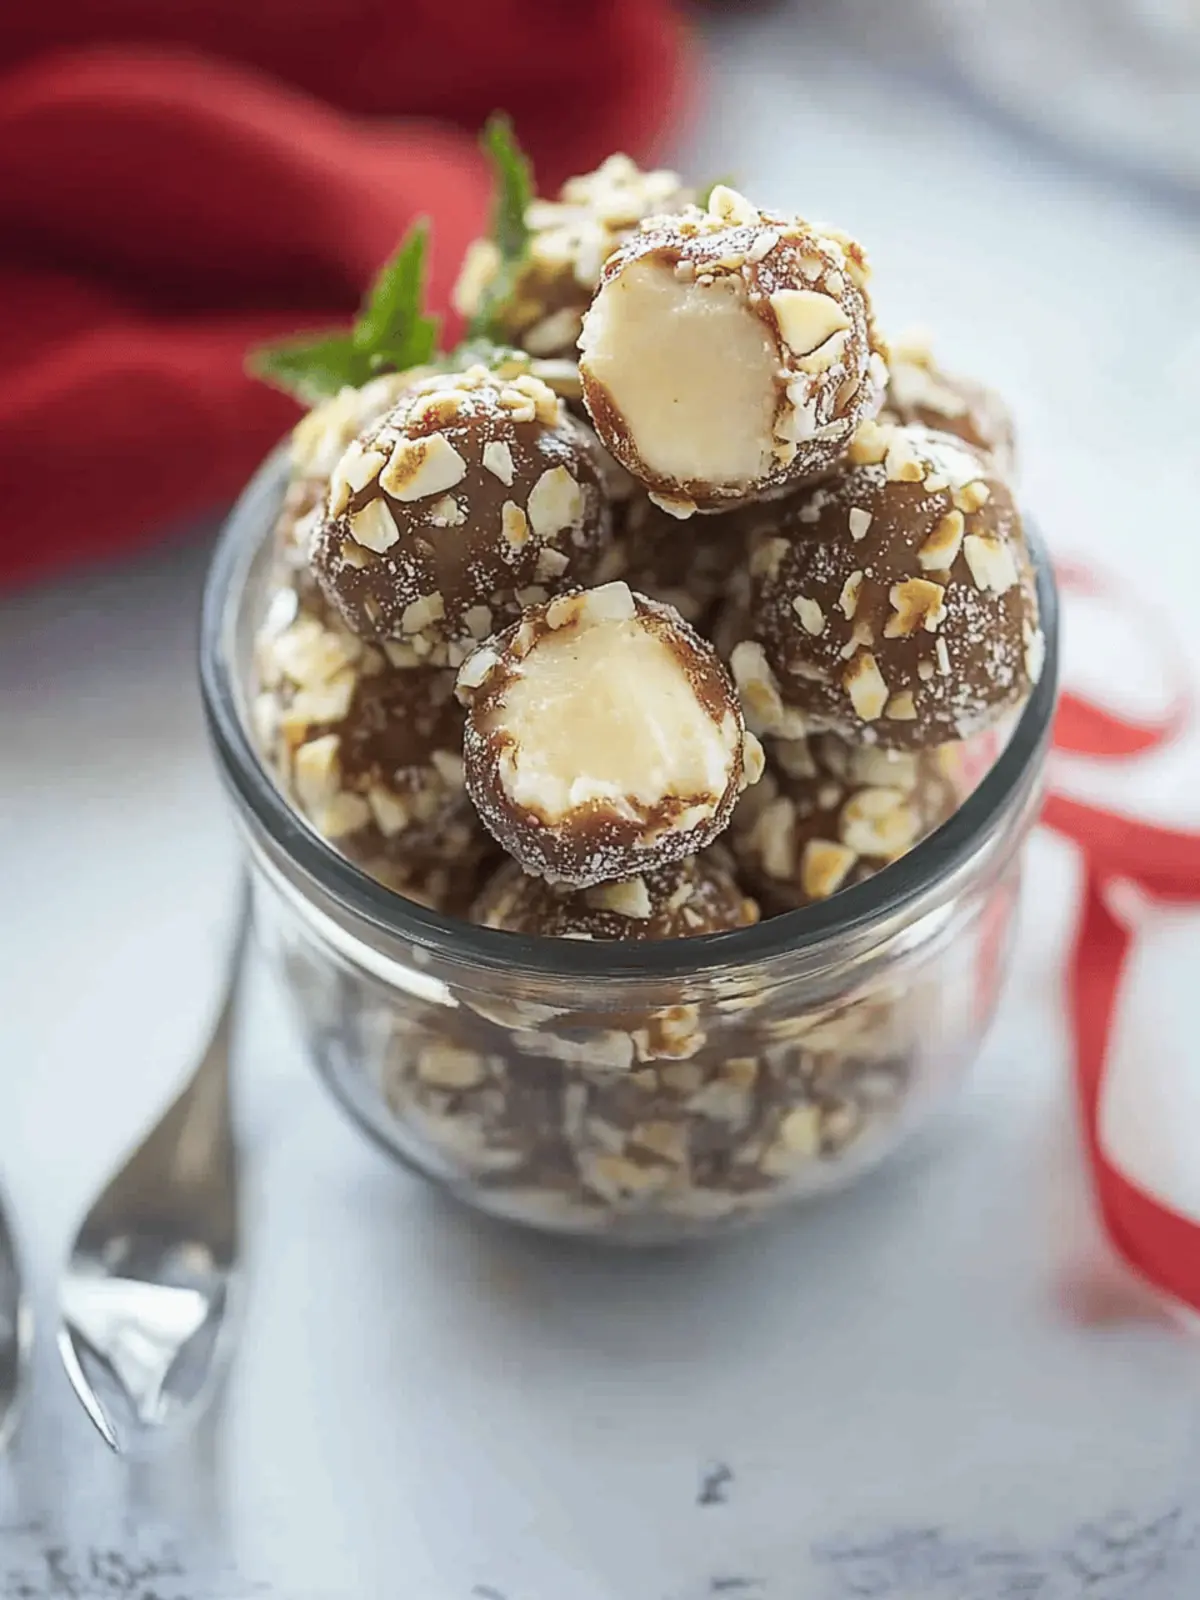
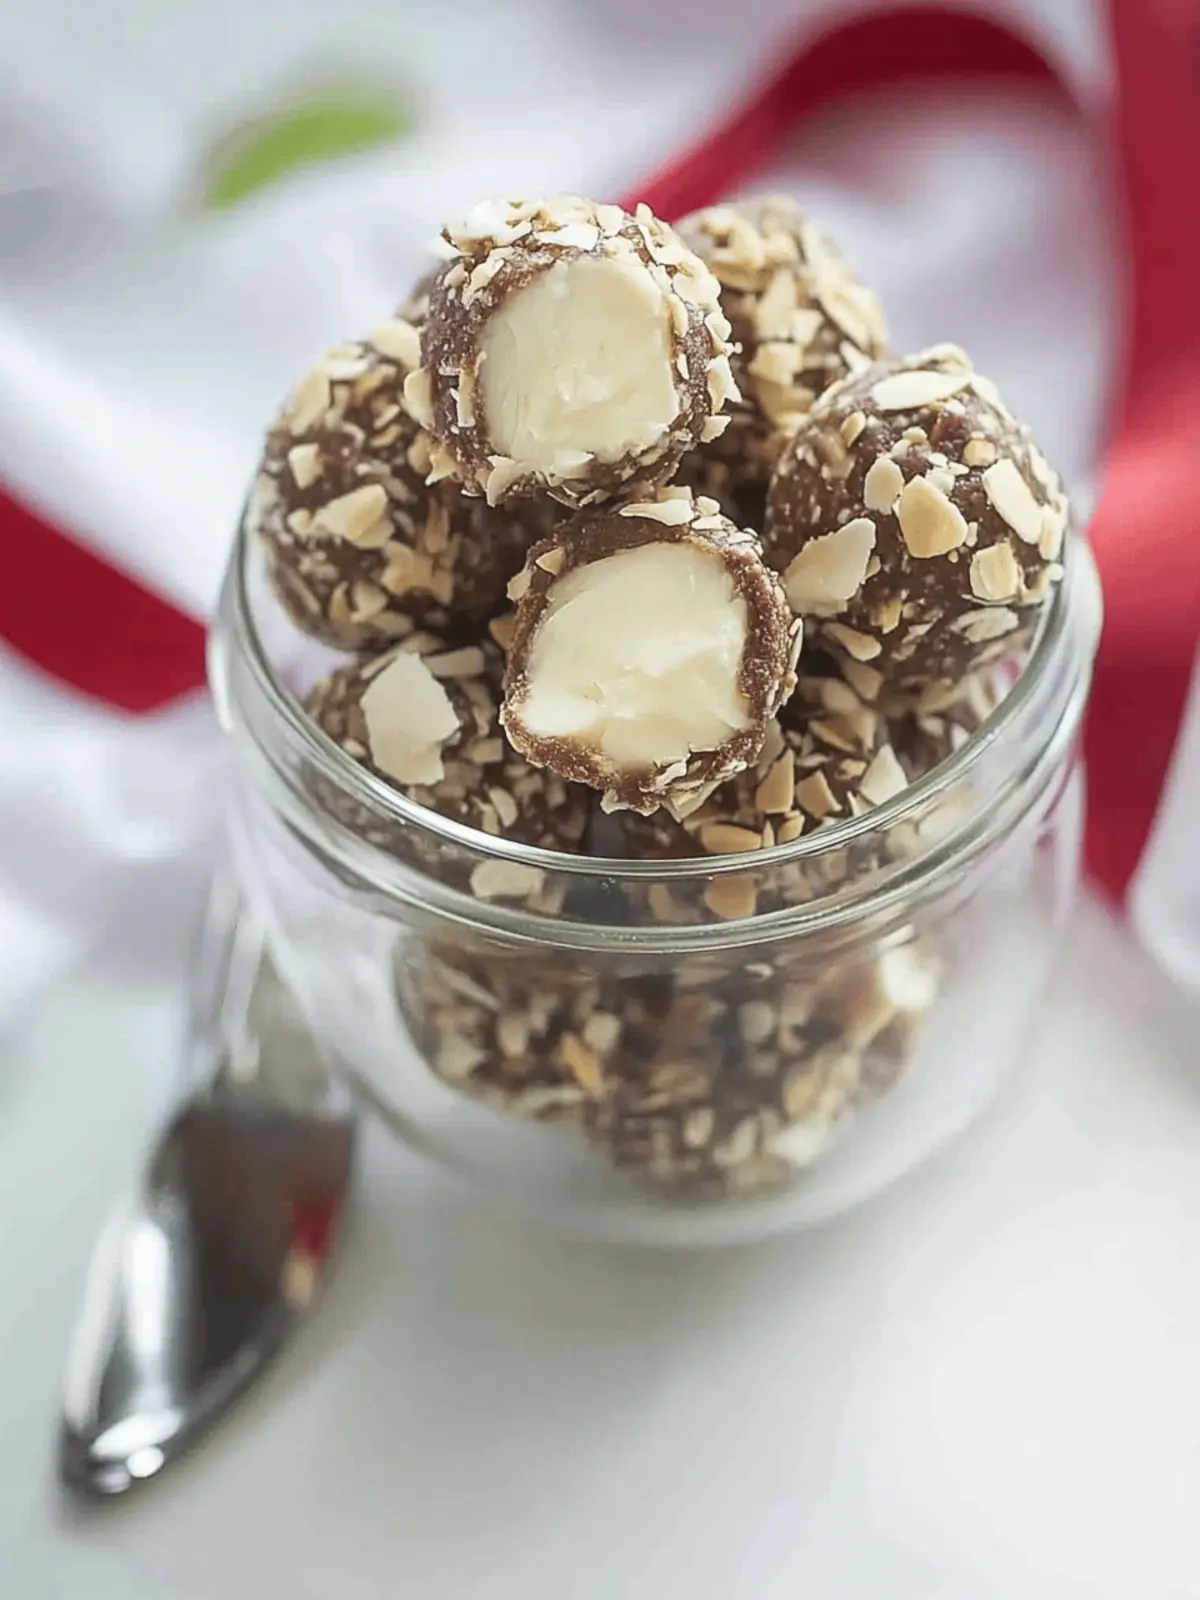
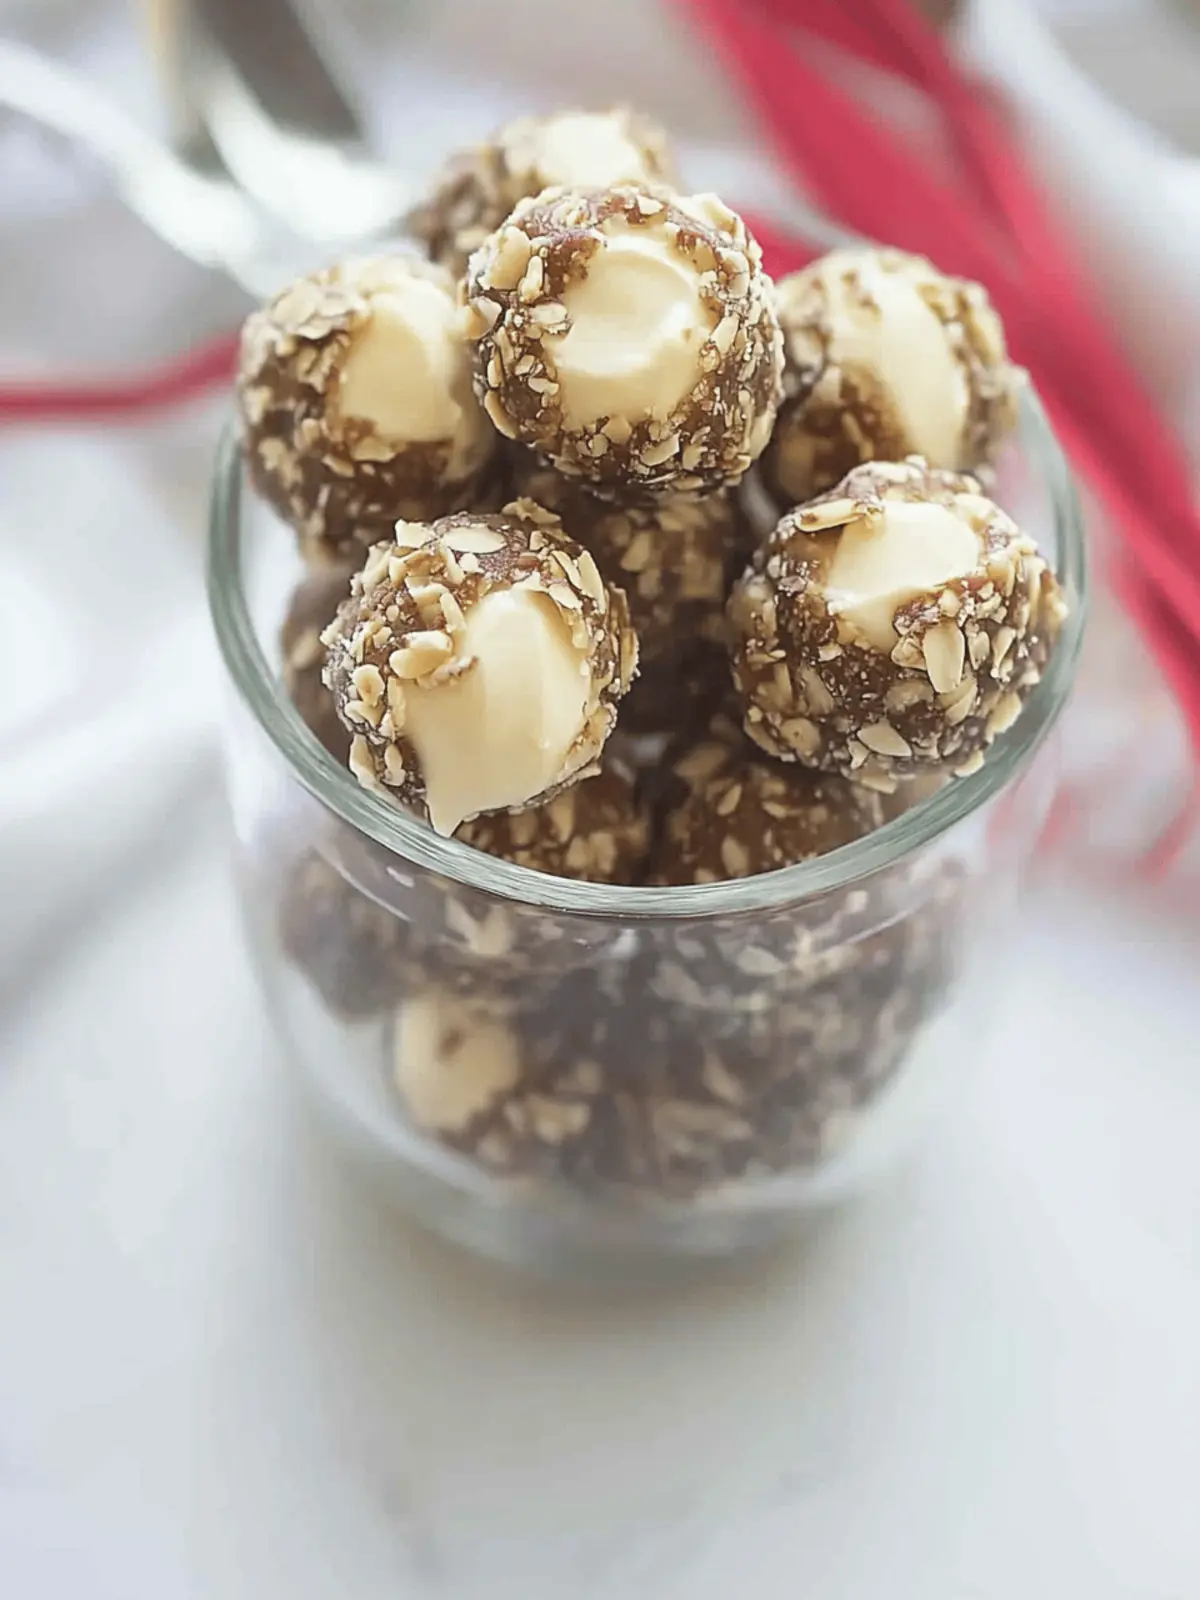
There’s something truly special about bringing a touch of sweetness into the holiday season, and these No-Bake Vanilla Creme Balls deliver just that. As the first snowflakes begin to fall and the warmth of festive gatherings fills the air, I find myself craving delectable treats that are both simple to make and crowd-pleasing. Each of these delightful vanilla balls offers a creamy filling encased in smooth chocolate, with a sprinkle of toasted almonds for that perfect crunch.
I stumbled upon this recipe during a cozy afternoon spent browsing my favorite dessert blogs, and I was instantly hooked. The idea of crafting a homemade treat without the fuss of baking, yet impressing everyone with remarkable flavor, was too good to resist. Whether you’re planning a thoughtful gift or a centerpiece for your holiday dessert table, these Vanilla Creme Balls promise to bring smiles and satisfaction to your loved ones. Plus, they offer the kind of versatility that lets you personalize each batch, ensuring that no two experiences are ever the same. Let’s dive into this sweet adventure together!
Why You’ll Love Vanilla Creme Balls
Simplicity at its Best: These Vanilla Creme Balls require no baking, making them a hassle-free treat that anyone can whip up.
Crowd-Pleasing Delight: With their creamy filling and rich chocolate coating, these bites are guaranteed to impress at any holiday gathering.
Quick to Make: Ready in under an hour, they’re perfect for last-minute holiday preparations or spontaneous gifting.
Customizable Flavors: You can easily swap out the nuts or add extracts to suit your taste, encouraging creativity in the kitchen!
Memorable Treat: The balance of creamy and crunchy makes these a nostalgic favorite, reminiscent of childhood candy moments.
These Vanilla Creme Balls are not just treats; they’re an invitation to create sweet memories with every bite.
Vanilla Creme Balls Ingredients
For the Filling
• Unsalted Butter – Provides richness and moisture; substitute with margarine for a dairy-free option.
• Sweetened Condensed Milk – Acts as a binder and adds sweetness; evaporated milk is a potential substitute but will alter sweetness.
• Vanilla Extract – Enhances the overall flavor; use pure vanilla for the best results.
• Powdered Sugar – Sweetens the filling and gives it a nice texture; can be reduced to taste if desired.
• Dash of Salt – Balances sweetness and enhances flavors; essential for taste—omit only if necessary.
For the Coating
• High-Quality Chocolate – Essential for coating; opt for Ghirardelli or Hershey’s bars for optimal melting and flavor.
• Sliced Almonds – Adds crunch and nutty flavor; can be replaced with crushed walnuts or pecans for different textures.
These Vanilla Creme Balls offer a delightful blend of flavors and textures, making them perfect for festive occasions!
How to Make Vanilla Creme Balls
-
Combine Ingredients: In a mixing bowl, blend softened butter, sweetened condensed milk, vanilla extract, powdered sugar, and a dash of salt until well-combined and creamy. This should take about 2-3 minutes—get ready for a delicious aroma!
-
Chill Mixture: Place the mixture in the refrigerator for at least 30 minutes until it firms up slightly. This step is crucial; it makes shaping the balls much easier later on!
-
Shape the Balls: Once chilled, take the mixture out and form small balls, about ½ teaspoon each, then arrange them neatly on a lined baking sheet. Aim for uniform size for even coating later!
-
Freeze: Freeze the balls overnight or for at least 8 hours. This ensures they maintain their shape when dipped in the chocolate—patience is key!
-
Toast Almonds: While the balls freeze, toast sliced almonds in a skillet over medium heat until golden brown, which should take about 3-4 minutes. Keep an eye on them to avoid burning—set aside to cool.
-
Melt Chocolate: Melt your high-quality chocolate in the microwave using 15-second intervals, stirring until smooth. This usually takes around 1-2 minutes—make sure there are no lumps!
-
Dip the Balls: Take each frozen ball and dip it into the melted chocolate. Roll it in the crushed almonds to coat evenly, letting any excess chocolate drip off. Don’t rush—this is where the magic happens!
-
Set and Enjoy: Place the coated balls back on the tray and refrigerate until the chocolate sets, about 30 minutes. Your delightful Vanilla Creme Balls are now ready to impress!
Optional: Drizzle some melted white chocolate on top for an elegant finish.
Exact quantities are listed in the recipe card below.
What to Serve with Vanilla Creme Balls?
These delightful treats are the perfect addition to any holiday gathering, ready to impress your guests!
- Rich Hot Chocolate: This cozy drink enhances the creamy sweetness of the Vanilla Creme Balls, creating a comforting duo on chilly nights. Enjoy the perfect harmony of flavors.
- Christmas Sugar Cookies: Add a festive touch with classic sugar cookies, providing a delightful crunch alongside the creamy balls—this duo wraps you in holiday cheer.
- Peppermint Bark: The cool minty flavor of peppermint bark pairs wonderfully, offering a refreshing contrast to the rich vanilla and chocolate. Perfect for adding variety to your dessert table!
- Fruit Salad: A fresh fruit salad adds a bright and refreshing element to the dessert table, balancing the richness of the candies with juicy sweetness. Think strawberries, oranges, and kiwi for color!
- Nutty Trail Mix: Serve a crunchy trail mix of nuts and dried fruits that compliments the Vanilla Creme Balls beautifully, adding texture and a savory element to your spread. This becomes a fun snacking option as well!
- Sparkling Cider: A bubbly non-alcoholic sparkling cider elevates holiday spirits without overshadowing the sweet treats, making them ideal for festive toasts or gatherings.
- Chocolate Fondue: Set up a fun chocolate fondue station to dip fruits, marshmallows, or pretzels alongside the Vanilla Creme Balls for a delightful interactive dessert experience.
- Spiced Chai Tea: The warm spices in chai tea dynamically contrast with the sweetness of the Vanilla Creme Balls, creating a soothing and aromatic pairing that feels like a warm hug.
How to Store and Freeze Vanilla Creme Balls
Fridge: Store your Vanilla Creme Balls in an airtight container in the refrigerator for up to 2 weeks, ensuring they stay fresh and delicious for holiday enjoyment.
Freezer: For longer storage, freeze the Vanilla Creme Balls in a single layer on a baking sheet. Once frozen, transfer them to a sealed bag or container for up to 2 months.
Thawing: When ready to enjoy, simply take out the desired amount and let them thaw in the refrigerator for a few hours before serving.
Reheating: These treats are best enjoyed chilled and don’t require reheating; their texture and flavor are perfect straight from the fridge!
Make Ahead Options
These Vanilla Creme Balls are perfect for meal prep, allowing you to save time during the busy holiday season! You can prepare the filling mixture and refrigerate it for up to 24 hours before rolling it into balls. Once shaped, the balls can be frozen for up to 3 months; this not only maintains their shape but also enhances the flavors. When you’re ready to indulge or gift them, simply dip the frozen balls in melted chocolate and coat them with toasted almonds, then refrigerate until set, typically about 30 minutes. With these make-ahead tips, you’ll create delightful treats that are just as delicious but require minimal effort on the day of serving!
Variations & Substitutions for Vanilla Creme Balls
Feel free to let your creativity shine and customize these treats to match your taste and dietary needs!
-
Nut-Free: Omit the almonds entirely or swap with crushed pretzels for a salty crunch that pairs wonderfully with chocolate.
-
Dairy-Free: Replace unsalted butter with coconut oil and use dairy-free chocolate for a delicious vegan alternative.
-
Extra Flavor: Add a splash of peppermint extract to the filling for a minty twist that’s perfect for the festive season.
-
Spicy Kick: Mix in a pinch of cayenne pepper or cinnamon for a warm, spicy element that enhances the sweetness beautifully.
-
Decadent Drizzle: Top your finished Vanilla Creme Balls with a drizzle of caramel sauce for an indulgent finishing touch.
-
Fruit Fusion: Incorporate finely chopped dried fruits like cranberries or apricots into the filling for a sweet, chewy contrast to the creamy center.
-
Flavor Infuser: Replace vanilla extract with almond or hazelnut extract to infuse a unique nutty flavor that complements the chocolate.
-
Chocolate Swirl: Instead of a solid chocolate coating, create a marbled effect by mixing white and dark chocolate before dipping the balls for visual flair.
These variations not only keep the treats exciting but also allow you to cater to different tastes and dietary preferences!
Expert Tips for Vanilla Creme Balls
-
Butter Softening: Ensure your butter is softened to room temperature for easy mixing; cold butter can lead to a lumpy filling.
-
Freezing Precision: Freeze the balls long enough so they hold their shape when dipped; this prevents messy, melted blobs when coating.
-
Quality Chocolate is Key: Use high-quality chocolate for dipping; it melts smoothly and coats the Vanilla Creme Balls better than cheaper alternatives.
-
Uniform Size Matters: Strive for uniform size in each ball to ensure even coating and a professional finish—think of them as tiny, edible masterpieces!
-
Batch Your Rolling: If the mixture becomes sticky while rolling, work in small batches; a lightly floured surface can help keep things tidy.
-
Gifting and Storage: For gifting, consider packaging in decorative boxes; store leftovers in an airtight container in the fridge for up to 2 weeks.
Vanilla Creme Balls Recipe FAQs
What type of butter should I use for Vanilla Creme Balls?
I recommend using unsalted butter for these Vanilla Creme Balls. It provides richness and moisture, creating a smoother filling. If you’re looking for a dairy-free option, margarine can be a good substitute.
How should I store my Vanilla Creme Balls?
Store your Vanilla Creme Balls in an airtight container in the refrigerator for up to 2 weeks. This keeps them fresh and delicious for holiday enjoyment. If you have leftovers, don’t worry; they hold up beautifully when stored properly!
Advertisement
Can I freeze Vanilla Creme Balls, and how do I do it?
Absolutely! To freeze your Vanilla Creme Balls, first arrange them in a single layer on a baking sheet and freeze them until solid, usually about 4-6 hours. Once frozen, transfer them to a sealed bag or container and store them in the freezer for up to 2 months. When you’re ready to indulge, simply thaw them in the refrigerator for a few hours.
What should I do if my mixture is too sticky?
If you find that your mixture is too sticky to roll into balls, try working in smaller batches. A lightly floured surface can help manage stickiness while rolling. Alternatively, chilling the mixture for a bit longer can make it easier to handle, ensuring a smooth shaping process.
Are there any dietary concerns with this recipe?
Yes, please note that this recipe uses butter and condensed milk, which contain dairy. If you’re preparing these Vanilla Creme Balls for someone with lactose intolerance or a dairy allergy, consider using margarine instead of butter, and seek out dairy-free condensed milk options available in stores. Always check product labels for allergens.
What if I don’t have sliced almonds for coating?
No problem at all! If you don’t have sliced almonds, you can substitute them with crushed walnuts or pecans for a delicious twist. Another fun idea is to mix in some candy sprinkles or shredded coconut for a festive touch—let your creativity shine!

Delicious No-Bake Vanilla Creme Balls for Easy Holiday Joy
Ingredients
Equipment
Method
- In a mixing bowl, blend softened butter, sweetened condensed milk, vanilla extract, powdered sugar, and a dash of salt until well-combined and creamy. This should take about 2-3 minutes.
- Place the mixture in the refrigerator for at least 30 minutes until it firms up slightly.
- Once chilled, take the mixture out and form small balls, about ½ teaspoon each, then arrange them neatly on a lined baking sheet.
- Freeze the balls overnight or for at least 8 hours.
- While the balls freeze, toast sliced almonds in a skillet over medium heat until golden brown, which should take about 3-4 minutes.
- Melt your high-quality chocolate in the microwave using 15-second intervals, stirring until smooth.
- Take each frozen ball and dip it into the melted chocolate. Roll it in the crushed almonds to coat evenly.
- Place the coated balls back on the tray and refrigerate until the chocolate sets, about 30 minutes.


