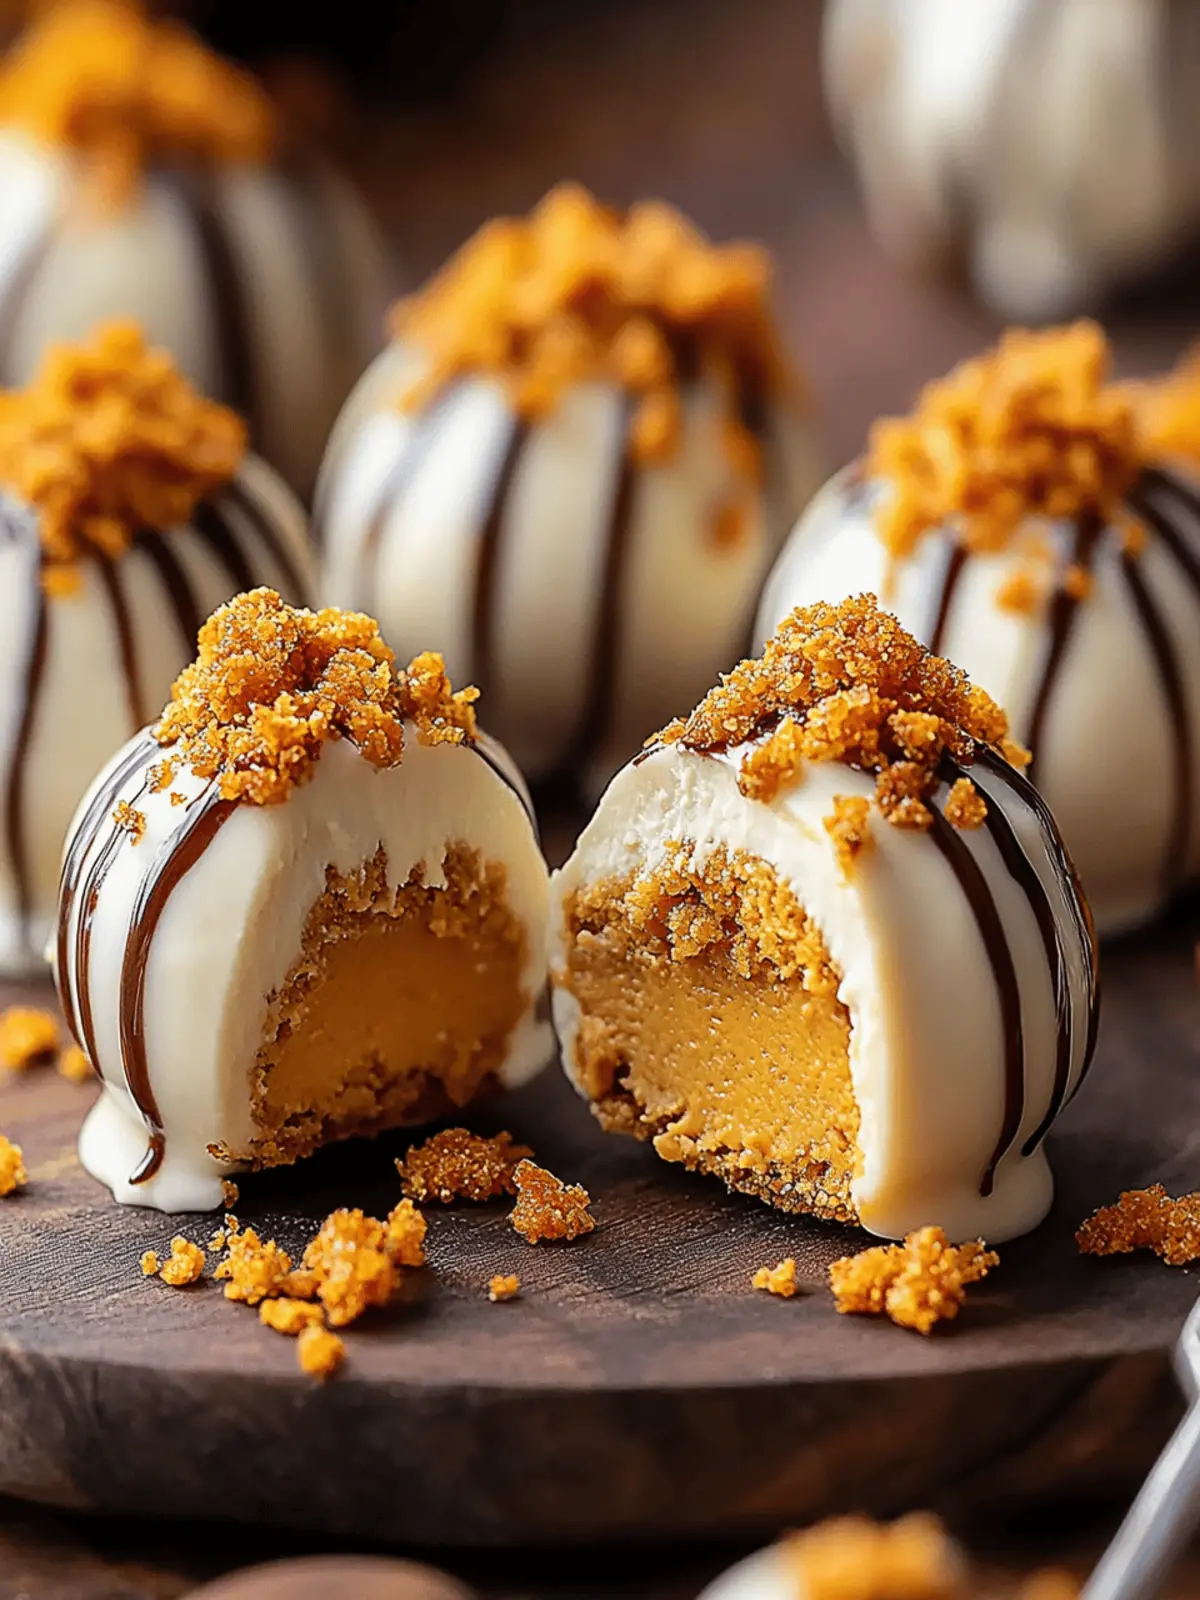
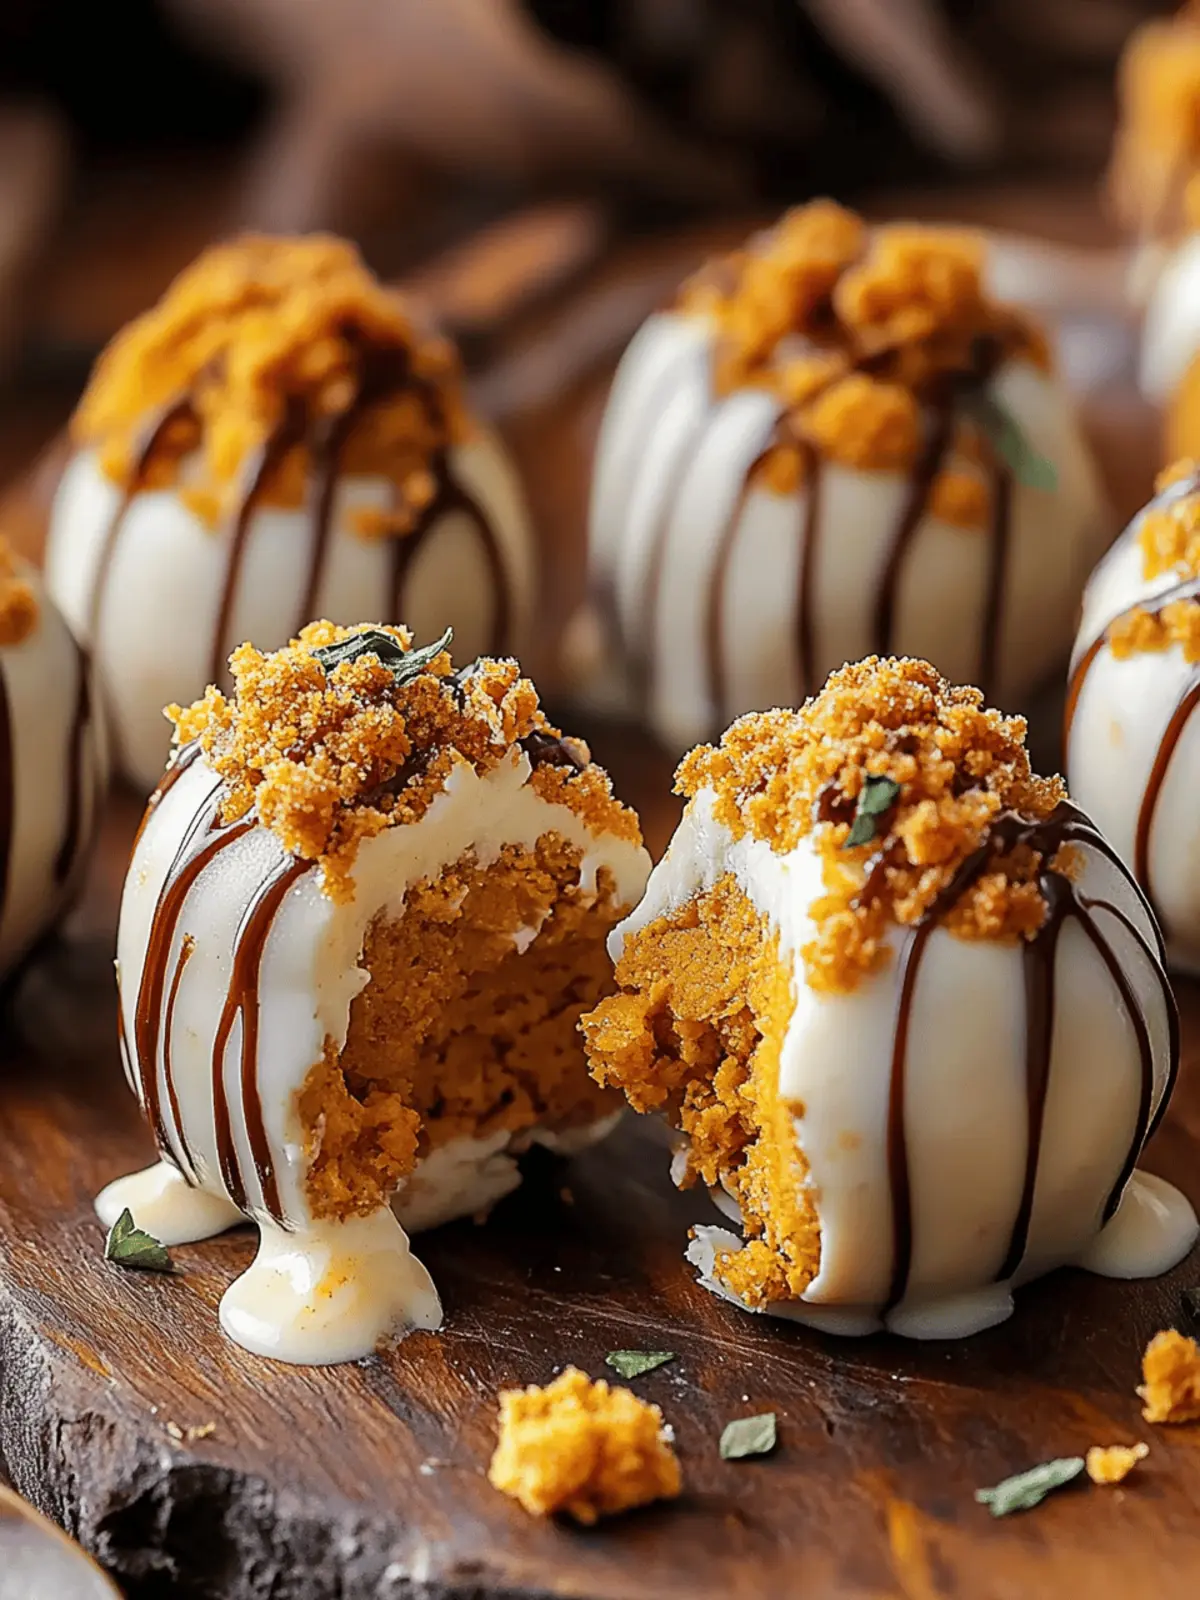
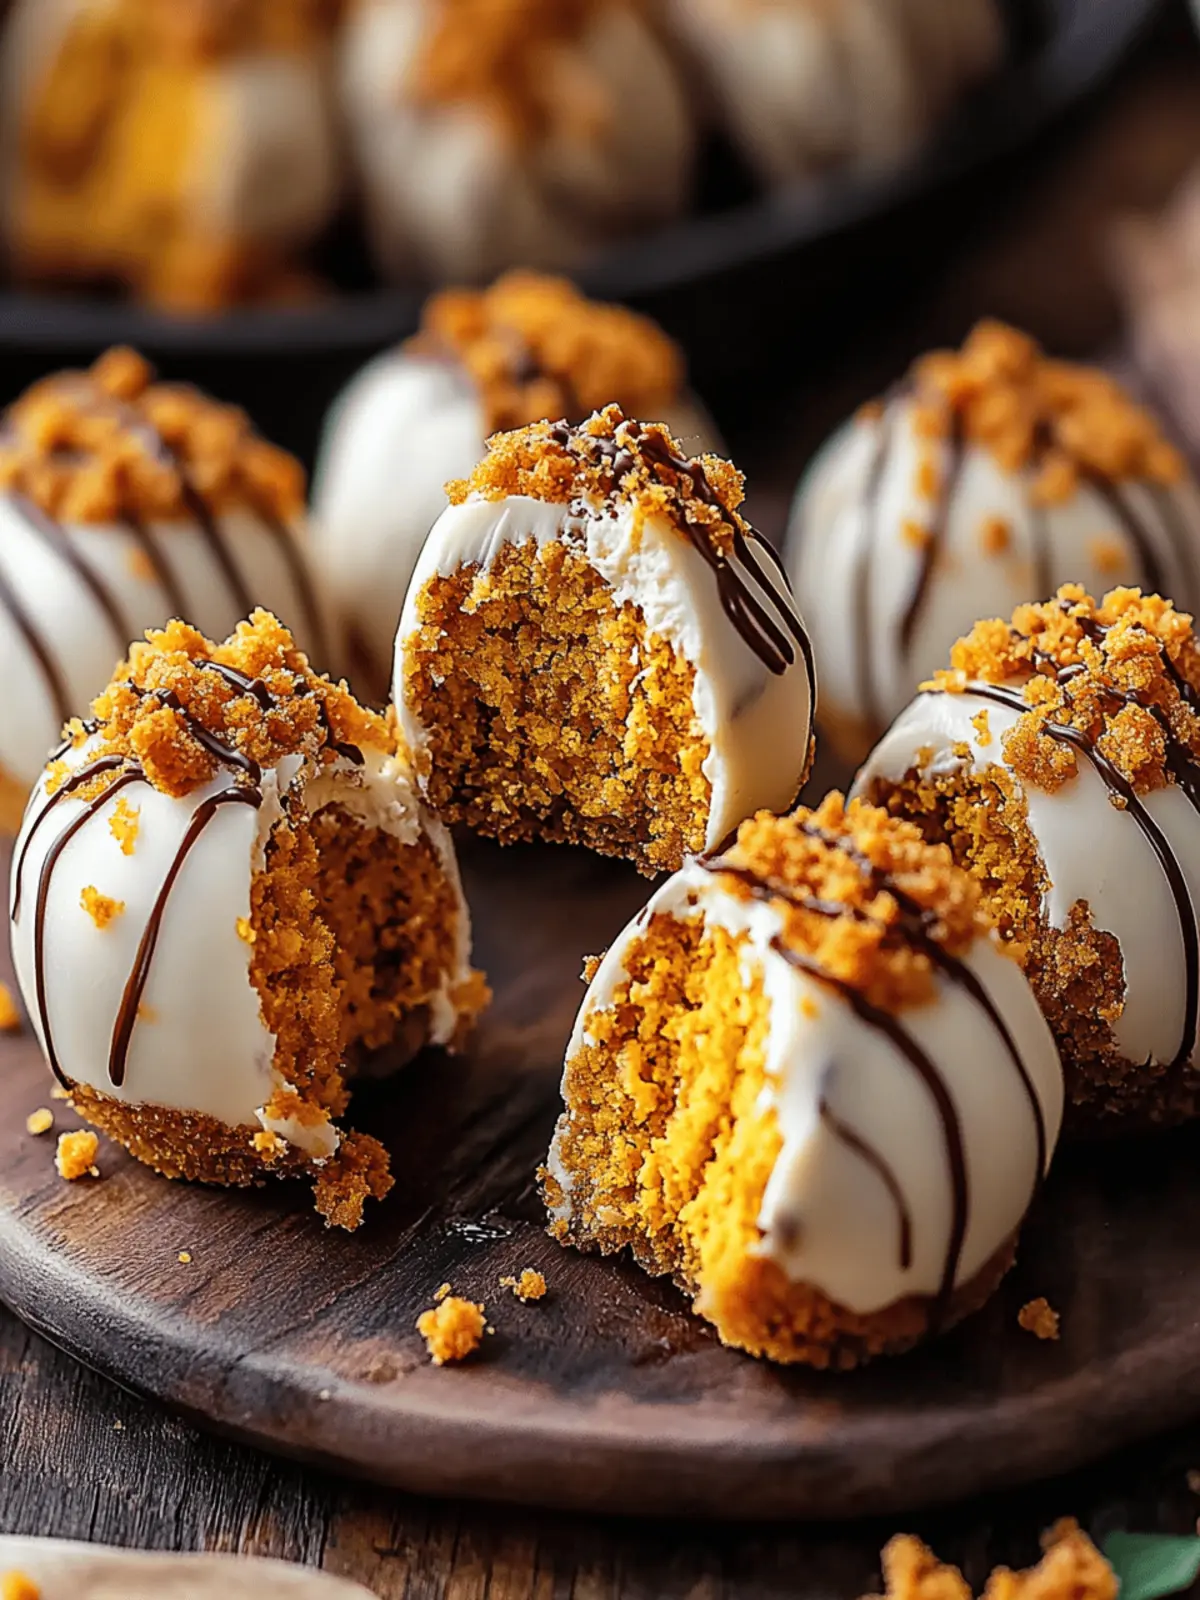
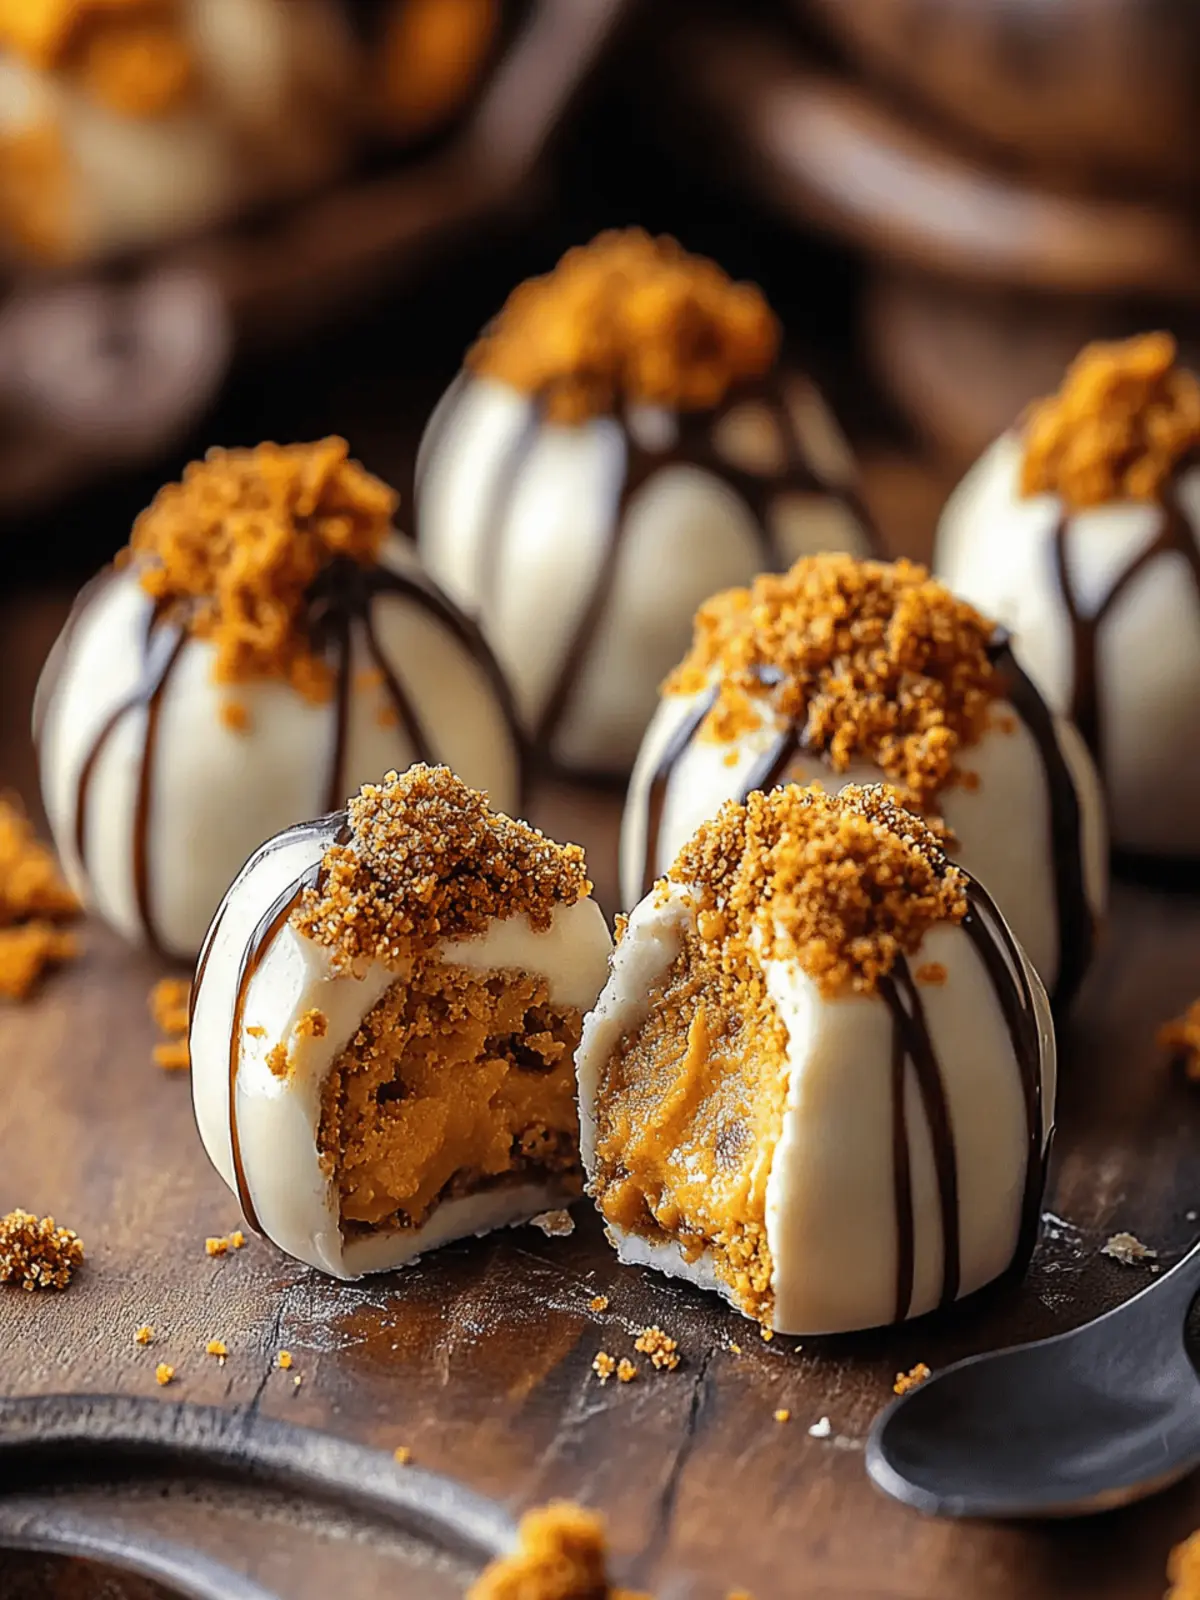
When fall arrives and the air turns crisp, my thoughts immediately drift to the cozy comforts of pumpkin-flavored treats. That’s when I found myself craving something light yet indulgent. Enter these No-Bake Pumpkin Cheesecake Balls: the epitome of autumn sweetness wrapped in little bites of joy! With just a few pantry staples and zero oven time, whipping up these creamy delights is as simple as it gets.
Imagine pops of pumpkin mingling beautifully with rich cream cheese, all dusted in crunchy graham cracker crumbs, ready to make every gathering or casual afternoon a little more special. Whether you’re serenely lounging at home or hosting a festive bash, these delightful bites are the perfect addition to your table, appealing to both seasoned chefs and busy home cooks alike. So, roll up your sleeves, and let’s create a treat that brings everyone together—no baking required!
Why are No-bake Pumpkin Cheesecake Balls perfect for fall?
Easy to Prepare: These No-bake Pumpkin Cheesecake Balls take just minutes to whip up, making them a perfect choice for those busy fall days.
Creamy Indulgence: Each bite is an explosion of creamy goodness, combining the rich flavors of pumpkin and cream cheese that are utterly irresistible.
Customizable Toppings: Get creative! Add crushed nuts, chocolate drizzles, or even a sprinkle of coconut for a unique twist.
No Special Skills Required: You don’t need to be a pro chef to impress; our easy steps ensure anyone can achieve a delicious outcome.
Perfect for Gatherings: These delightful treats are sure to be a hit at any party, making them a fun and festive addition to your autumn spread.
When you’re ready to create your own delightful harvest treat, check out our simple guide for making these easy no-bake desserts!
No-bake Pumpkin Cheesecake Balls Ingredients
For the Creamy Filling
• Cream Cheese – Provides the creamy base; ensure it’s softened for easy mixing.
• Pumpkin Puree – Adds rich pumpkin flavor and moisture; either fresh or canned works well.
• Powdered Sugar – Sweetens and smooths the mixture; substitute with maple syrup for a vegan option.
• Vanilla Extract – Enhances the flavor depth; always opt for pure for the best results.
• Pumpkin Pie Spice – Infuses delightful fall flavors; you can substitute it with a mix of cinnamon and nutmeg if needed.
For the Coating
• Graham Cracker Crumbs – Creates a delightful crunchy coating; crumbled pretzels can add a savory twist.
• Crushed Nuts (optional) – Adds texture and flavor; walnuts or pecans complement the pumpkin beautifully.
• Chocolate Chips (optional) – Ideal for drizzling on top for extra sweetness; omit for a lower sugar dessert.
Prepare these no-bake pumpkin cheesecake balls for a cozy and easy fall treat that’s sure to impress everyone!
How to Make No-Bake Pumpkin Cheesecake Balls
-
Combine Ingredients: In a mixing bowl, blend softened cream cheese, pumpkin puree, powdered sugar, vanilla extract, pumpkin pie spice, and graham cracker crumbs. Mix until the mixture is smooth and creamy, ensuring all ingredients are well incorporated.
-
Chill the Mixture: Cover the bowl with plastic wrap and place it in the fridge for 10-15 minutes. Chilling will firm up the mixture, making it easier to roll into balls.
-
Shape the Balls: Use a tablespoon to scoop out portions of the mixture, and roll each scoop into balls with your hands. Aim for a uniform size for an appealing presentation.
-
Prepare the Coating: In a separate bowl, mix together additional graham cracker crumbs and crushed nuts. Roll each pumpkin ball in this mixture, making sure they are fully coated for a delightful crunch.
-
Arrange on a Sheet: Place the coated pumpkin balls on a parchment-lined cookie sheet. If desired, melt chocolate chips and drizzle over the top of the balls for an added touch of sweetness and beauty.
-
Set in the Fridge: Refrigerate the balls for an additional 30 minutes to allow them to set properly before serving. Enjoy them chilled for the best flavor and texture!
Optional: Garnish with a sprinkle of cinnamon for an extra dash of fall flavor.
Exact quantities are listed in the recipe card below.
Expert Tips for No-Bake Pumpkin Cheesecake Balls
-
Perfectly Softened Cream Cheese: Ensure your cream cheese is at room temperature before mixing to achieve a smooth and creamy texture, preventing a lumpy filling.
-
Chill Time Matters: Don’t rush the chilling process. Proper chilling helps firm up the mixture, making it easier to roll into perfectly shaped balls.
-
Customizable Flavors: Feel free to swap out spices or sweeteners according to your preference. For a vegan option, use plant-based cream cheese and maple syrup.
-
Coating Variations: Experiment with different coatings like crushed pretzels, chocolate drizzle, or shredded coconut to make these No-bake Pumpkin Cheesecake Balls uniquely yours.
-
Storage Tips: Keep them in an airtight container in the fridge for up to a week or freeze for longer enjoyment—just remember to thaw slightly before serving!
No-bake Pumpkin Cheesecake Balls Variations
Feel free to put your own spin on these delightful treats!
-
Vegan Swap: Replace cream cheese with a plant-based alternative and use maple syrup for sweetness.
-
Gluten-Free: Use gluten-free graham crackers or crushed nuts for the coating. Your guests will love the flavor just the same!
-
Chocolate Indulgence: Mix in mini chocolate chips into the filling for a rich surprise in every bite. Chocolate and pumpkin are a match made in heaven!
-
Nutty Flavor: Add almond or hazelnut extract to the filling for an extra depth of flavor that surprises the palate. Talk about a unique twist!
-
Spice it Up: Increase the pumpkin pie spice for a bolder flavor or try adding cayenne for a subtle kick. Pumpkin lovers will savor this bold variation!
-
Holiday Cheer: Roll in crushed candy canes or colored sprinkles during the holidays to make them festive and fun. They make perfect gifts for friends!
-
Fruit Fusion: Incorporate dried cranberries or raisins into the mixture for added texture and a burst of sweetness. It’s a delightful little surprise!
-
Creamy Coconut: Coat with shredded coconut for a tropical flair that beautifully complements the pumpkin flavor. Who knew fall could be so exotic?
Make Ahead Options
These No-Bake Pumpkin Cheesecake Balls are ideal for meal prep, allowing you to savor the flavors of fall without the last-minute rush! You can prepare the filling mixture up to 24 hours in advance—just store it in an airtight container in the refrigerator. Additionally, once you shape the balls, they can be kept in the fridge for up to 3 days before serving. To maintain their delightful texture, ensure they are well-coated in graham cracker crumbs and keep them chilled. When you’re ready to impress your guests, simply drizzle with melted chocolate and let them set for about 30 minutes. With these simple make-ahead tips, you’ll have a festive treat on hand for any occasion!
How to Store and Freeze No-Bake Pumpkin Cheesecake Balls
-
Fridge: Store in an airtight container for up to one week. This keeps the balls fresh and maintains their delicious creamy texture.
-
Freezer: For longer storage, place the cheesecake balls in a single layer on a parchment-lined baking sheet. Freeze for up to three months, then transfer them to a freezer-safe bag.
-
Thawing: To enjoy, remove from the freezer and let thaw at room temperature for about 20-30 minutes before serving. This way, the flavors and texture shine just like freshly made No-bake Pumpkin Cheesecake Balls.
-
Reheating: These treats are best enjoyed cold, so no need to reheat; simply serve straight from the fridge or after thawing.
What to Serve with No-Bake Pumpkin Cheesecake Balls?
Elevate your gatherings with scrumptious pairings that bring out the best of autumn’s flavors.
- Warm Spiced Tea: A cozy cup of spiced tea beautifully complements the creamy pumpkins and spices, warming your heart as the leaves fall outside.
- Pumpkin Spice Latte: Infuse your dessert table with the classic autumn flavor of pumpkin spice lattes, pairing seamlessly with these delightful bites.
- Apple Cider: Serve chilled or heated with a hint of cinnamon; apple cider’s sweetness pairs with pumpkin, creating a nostalgic fall experience.
- Ginger Snaps: The spice and crunch of ginger snaps provide a delightful contrast to the smoothness of the cheesecake balls, making for a tasty duo.
- Whipped Cream: A dollop of lightly sweetened whipped cream adds a fluffy element that complements the rich texture of the cheesecake balls perfectly.
- Chopped Nuts Topping: Sprinkle crushed walnuts or pecans over the balls or serve on the side to enhance texture and add a nutty flavor.
- Chocolate Drizzle: Elevate their sweet appeal by drizzling with chocolate—it creates a pretty presentation and adds an extra layer of indulgence.
- Caramel Sauce: A warm drizzle of caramel sauce adds a rich sweetness that balances the pumpkin’s spice beautifully, creating an irresistible treat.
- Chai Latte: The aromatic spices of a chai latte harmonize with pumpkin flavors, making it a comforting beverage choice for fall gatherings.
- Miniature S’mores: Bite-sized s’mores provide a fun and interactive dessert element that cheers up the festive spirit while complementing your pumpkin treats.
No-Bake Pumpkin Cheesecake Balls Recipe FAQs
What kind of pumpkin puree should I use?
You can use either fresh or canned pumpkin puree for your No-Bake Pumpkin Cheesecake Balls. I often opt for canned pumpkin because it’s convenient and consistent in flavor. If using fresh, be sure to properly cook and puree the pumpkin until smooth—this will give your balls that rich, authentic pumpkin taste.
How should I store my cheesecake balls?
For optimal freshness, store your No-Bake Pumpkin Cheesecake Balls in an airtight container in the refrigerator. They’ll stay delicious for up to one week! If you’d like to make them ahead of time for a gathering, they also freeze beautifully for up to three months. Just make sure they’re fully coated before freezing to preserve their texture.
Advertisement
Can I freeze No-Bake Pumpkin Cheesecake Balls?
Absolutely! To freeze your cheesecake balls, start by placing them in a single layer on a parchment-lined baking sheet. Freeze them for about 1-2 hours until firm, and then transfer the balls to a freezer-safe bag or container. When you’re ready to enjoy, simply let them thaw at room temperature for about 20-30 minutes before serving, so they retain their delightful creaminess.
What if my cream cheese isn’t soft enough?
If your cream cheese is still too firm and difficult to mix, don’t fret! Cut it into small cubes and let it sit at room temperature for about 10-15 minutes to soften further. Alternatively, you can microwave it briefly (about 10-15 seconds) but be cautious not to overheat; you want it soft, not melted! This will help ensure a smooth texture in your cheesecake mixture.
Are these cheesecake balls suitable for vegans?
Yes, they can be easily adapted for a vegan diet! Substitute the cream cheese with a plant-based cream cheese alternative and replace powdered sugar with pure maple syrup for sweetness. This combination will keep the flavors intact while making your No-Bake Pumpkin Cheesecake Balls vegan-friendly and just as delicious!
Can I use other toppings instead of graham cracker crumbs?
The more the merrier! While graham cracker crumbs make a classic coating, feel free to get creative. Crushed nuts, shredded coconut, or even crushed pretzels for a savory twist are all delicious alternatives. During the holiday season, you might even consider rolling them in crushed candy canes for a festive touch.
No-Bake Pumpkin Cheesecake Balls: Your Easy Fall Indulgence
Ingredients
Equipment
Method
- In a mixing bowl, blend softened cream cheese, pumpkin puree, powdered sugar, vanilla extract, pumpkin pie spice, and graham cracker crumbs. Mix until the mixture is smooth and creamy, ensuring all ingredients are well incorporated.
- Cover the bowl with plastic wrap and place it in the fridge for 10-15 minutes. Chilling will firm up the mixture, making it easier to roll into balls.
- Use a tablespoon to scoop out portions of the mixture, and roll each scoop into balls with your hands. Aim for a uniform size for an appealing presentation.
- In a separate bowl, mix together additional graham cracker crumbs and crushed nuts. Roll each pumpkin ball in this mixture, making sure they are fully coated for a delightful crunch.
- Place the coated pumpkin balls on a parchment-lined cookie sheet. If desired, melt chocolate chips and drizzle over the top of the balls for an added touch of sweetness and beauty.
- Refrigerate the balls for an additional 30 minutes to allow them to set properly before serving. Enjoy them chilled for the best flavor and texture!

