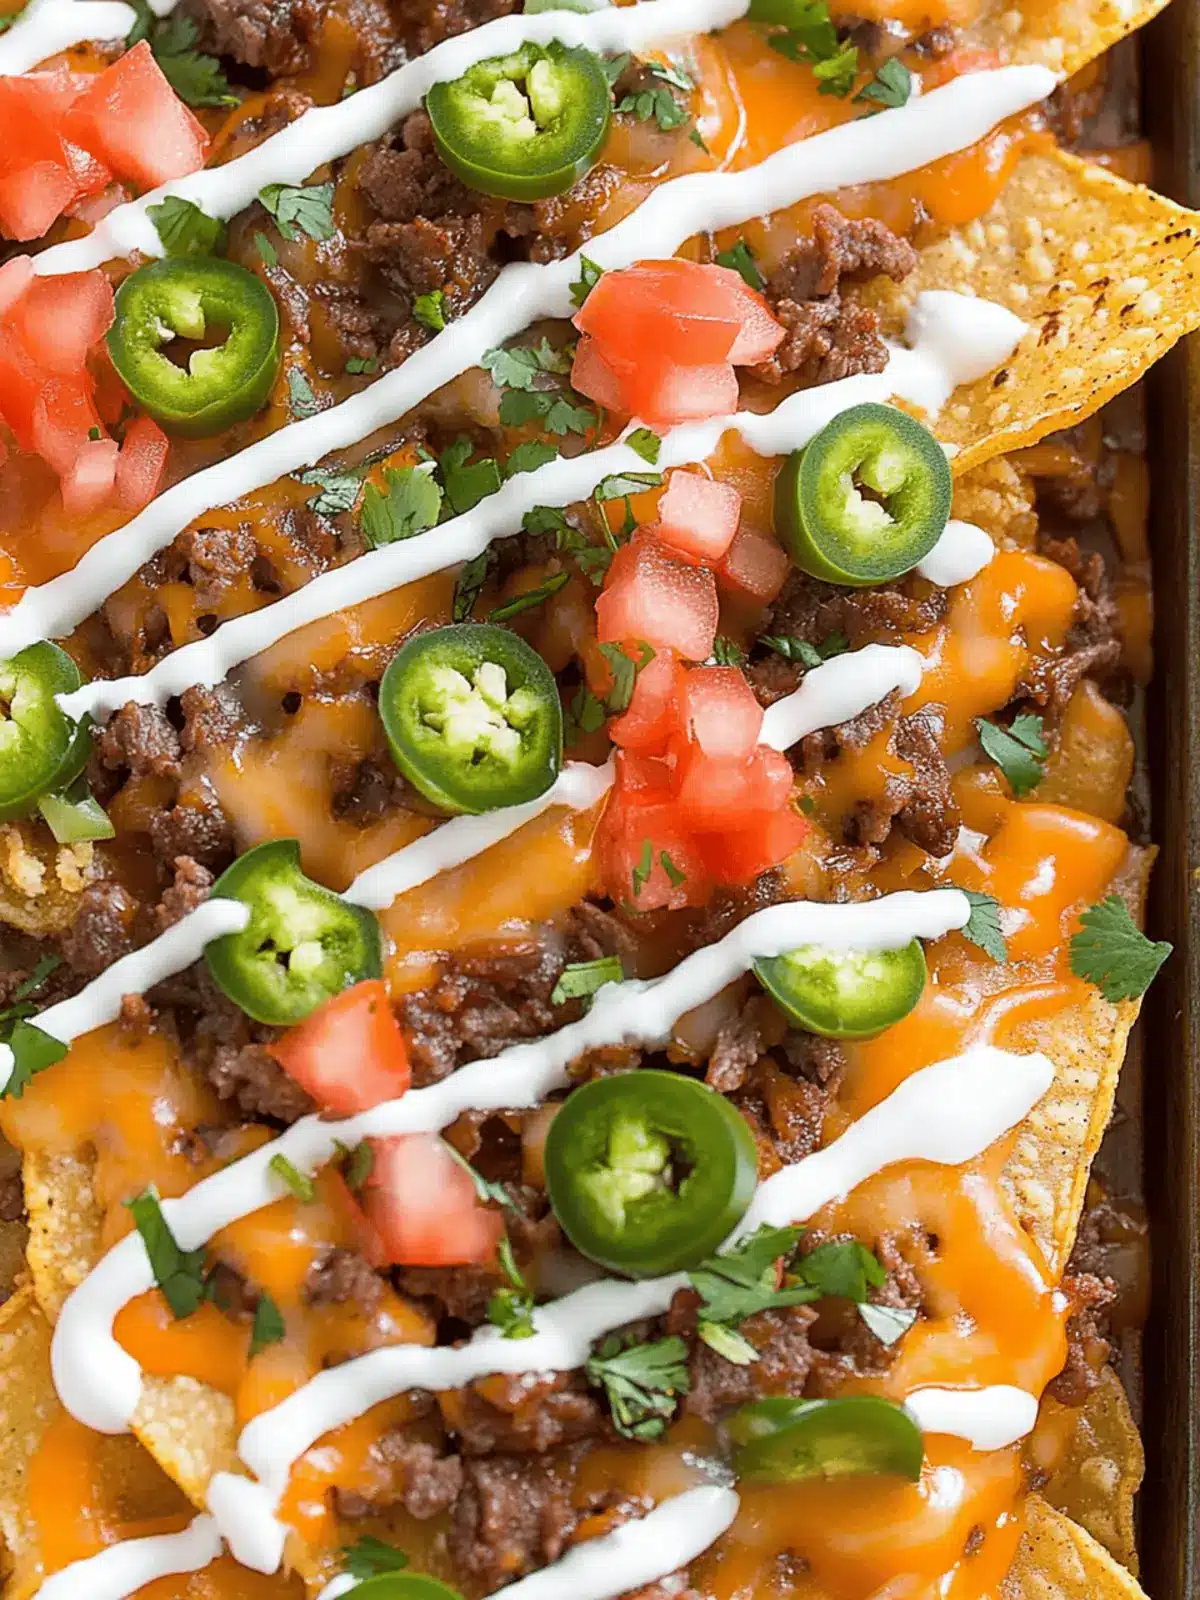
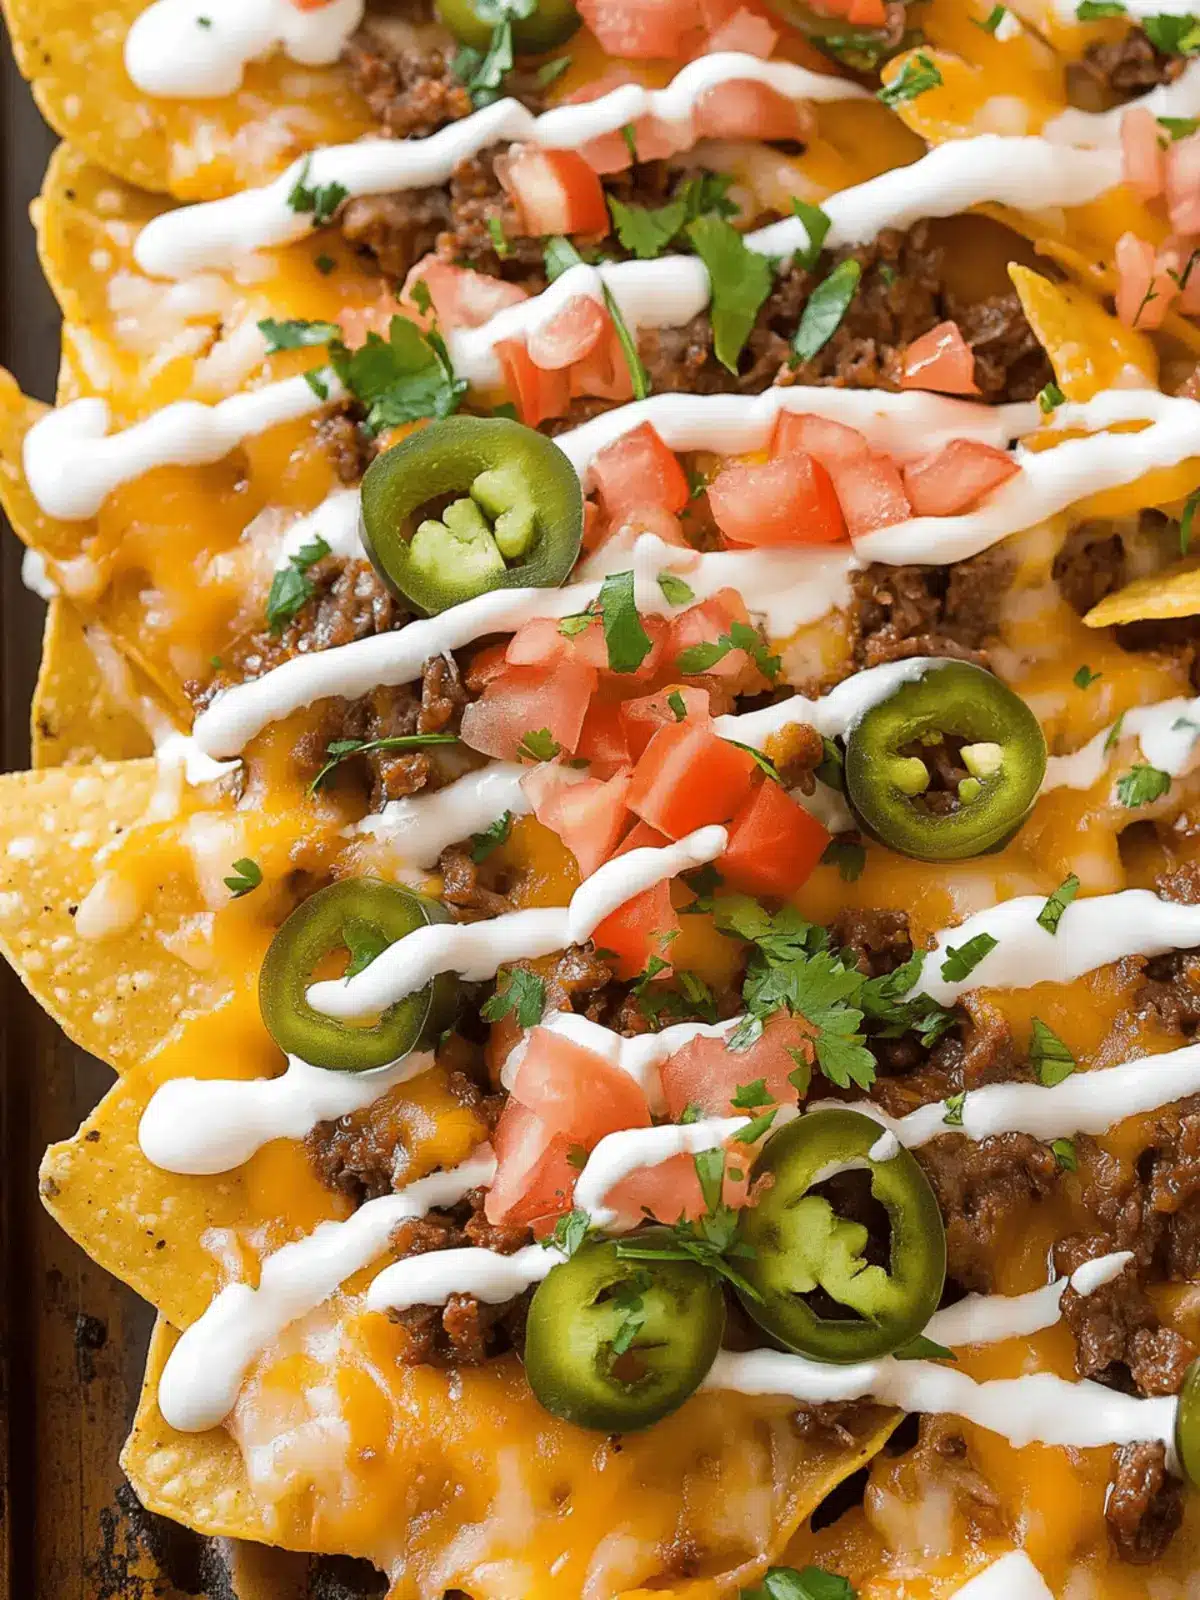
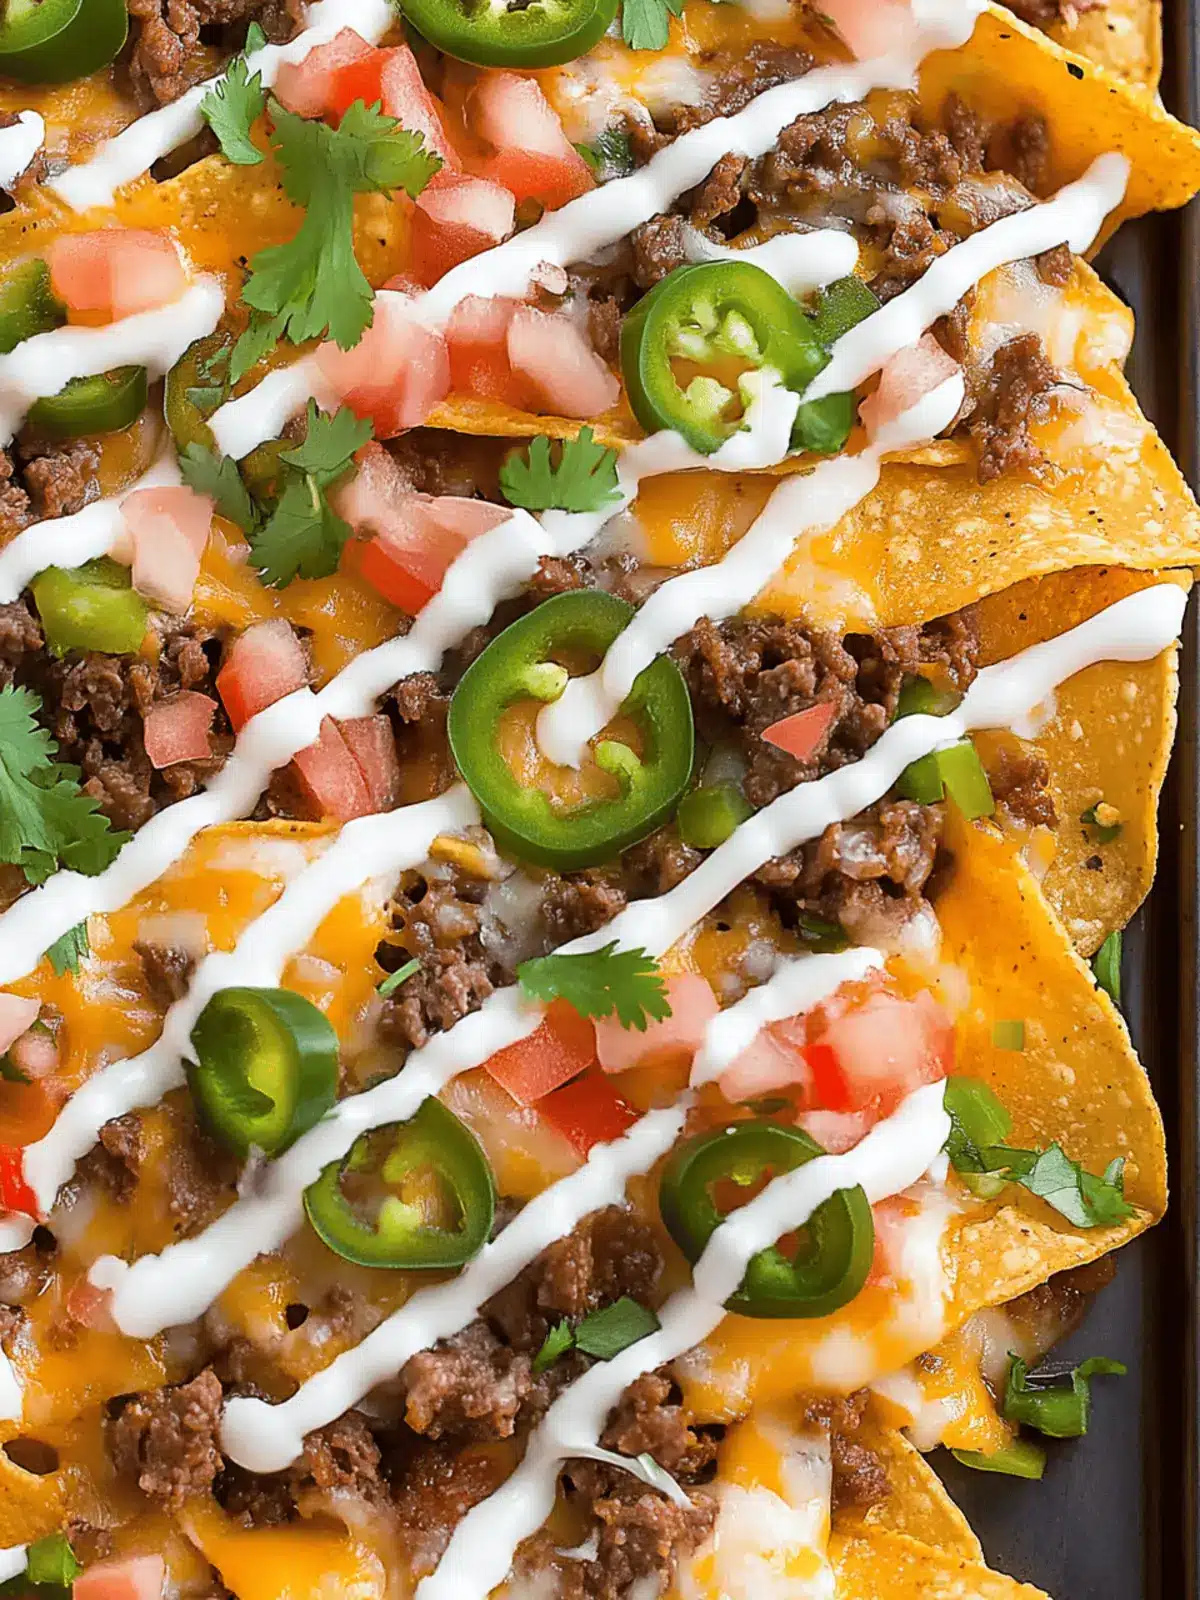
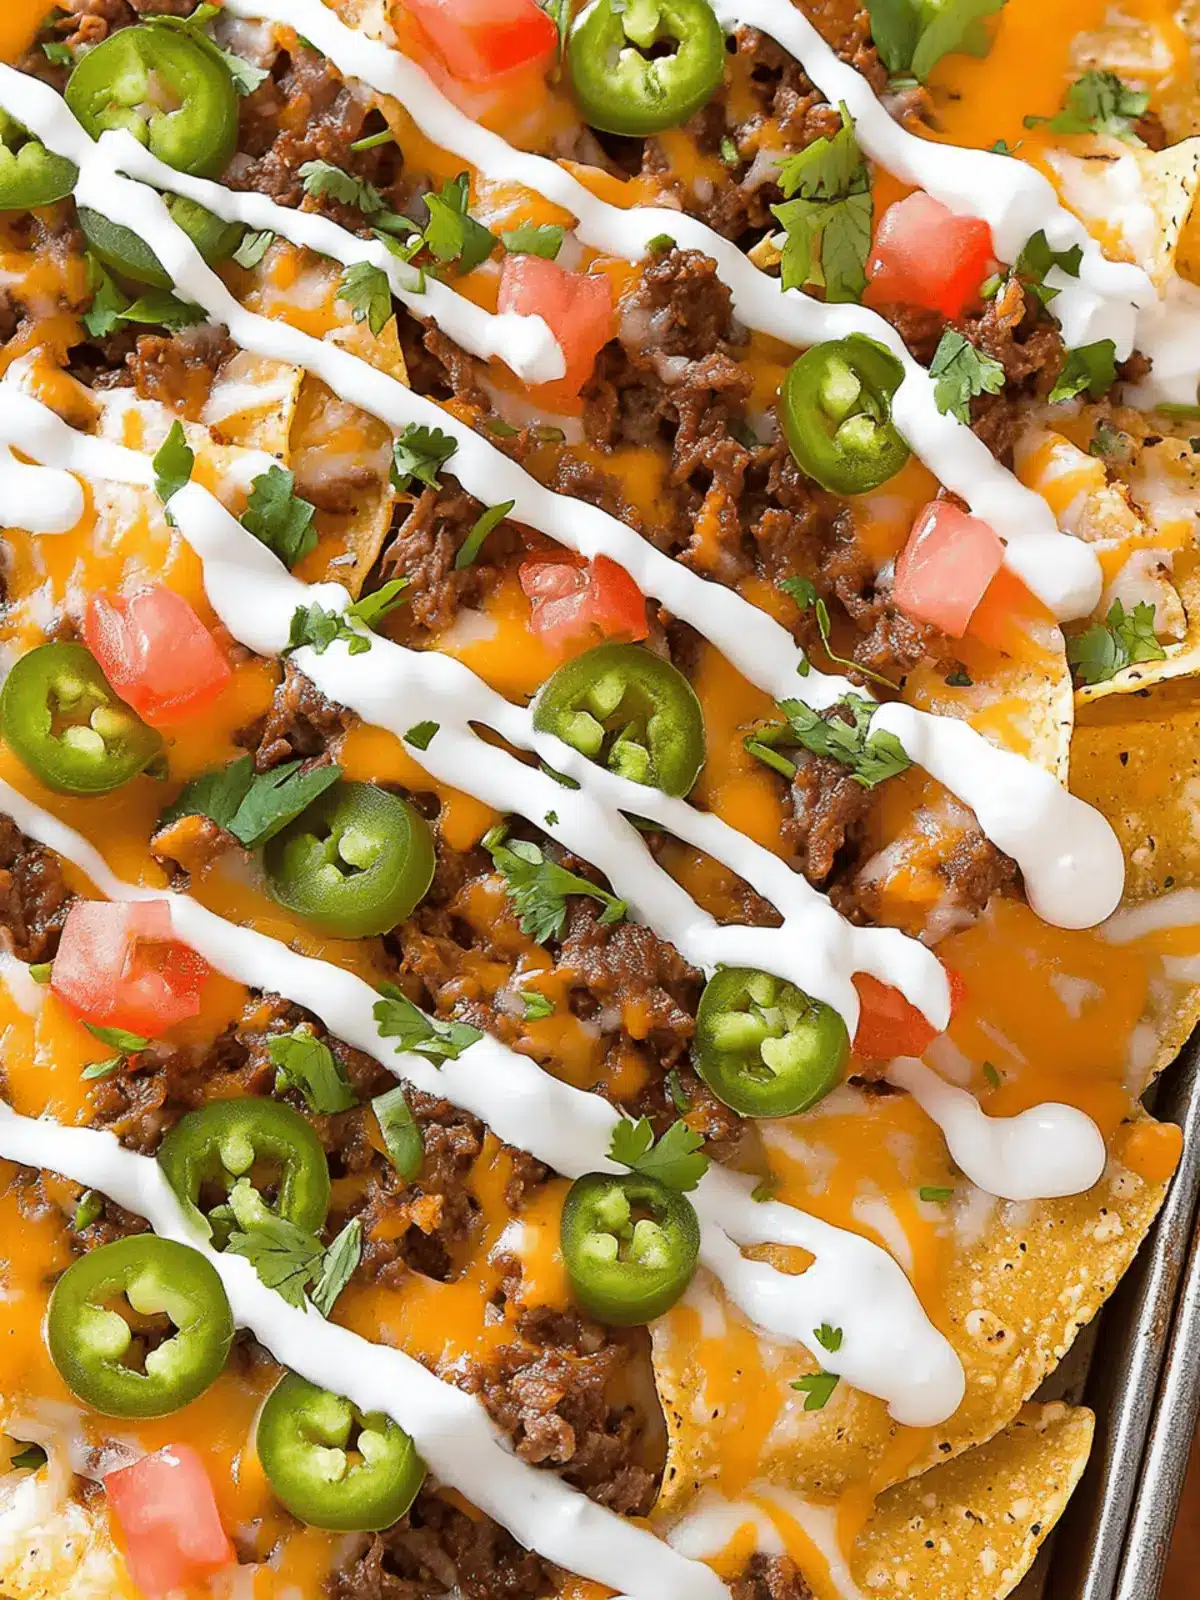
There’s nothing quite like the satisfying crunch of a tortilla chip topped with an explosion of flavor, and that’s exactly what you’ll find in these Loaded Beef Nachos. Picture this: it’s game day, and the excitement is palpable. Friends gather around, laughter fills the air, but something’s missing—yes, the ultimate snack! These nachos are a delightful combination of crispy chips, taco-seasoned ground beef, gooey melted cheeses, and a touch of zesty jalapeños, all ready in just minutes. Whether you’re hosting a gathering or having a cozy night in, this dish is sure to impress and keep everyone coming back for more.
What I adore about these nachos is their incredible versatility; you can personalize them with your favorite toppings, ensuring every bite is tailored to your taste. Have a little extra time? Opt for homemade tortilla chips. In a rush? Store-bought works perfectly, too! Let’s dive into this irresistible recipe that promises to transform any occasion into an unforgettable experience.
Why are Loaded Beef Nachos a must-try?
Irresistible Texture: Enjoy the perfect crunch of tortilla chips combined with a gooey, cheesy topping.
Flavor Explosion: Taco-seasoned beef and zesty jalapeños create a delightful medley that’s sure to please.
Quick Preparation: Whip these up in just minutes, making them ideal for spontaneous gatherings.
Customizable Delight: Tailor your nachos to suit any palate; swap proteins or add extra toppings easily.
Crowd-Pleasing Appeal: Perfect for game day or movie night, these nachos will keep guests coming back for more.
For more creative nacho ideas, don’t forget to check out our delicious nacho variation suggestions!
Loaded Beef Nachos Ingredients
Get ready to create the ultimate game day snack!
For the Beef Mixture
• Ground Beef – This main protein is seasoned with taco seasoning for rich flavor.
• Taco Seasoning – Infuses your beef with a bold, zesty kick.
• Onion – Adds natural sweetness and depth; use yellow or white for best results.
• Garlic – Fresh is preferred for the most aromatic flavor; jarred can work in a pinch.
• Olive Oil – Used for sautéing; can be substituted with vegetable oil if needed.
For the Cheesy Topping
• Cheddar Cheese – Melts beautifully and adds a delicious sharp flavor.
• Monterey Jack Cheese – Introduces creaminess; try pepper jack for a spicy twist.
For the Crunchy Base
• Tortilla Chips – Opt for store-bought for convenience or homemade for a personal touch.
For the Fresh Toppings
• Sour Cream – Provides creaminess and richness; Greek yogurt works as a tasty substitute.
• Tomato – Diced or as pico de gallo, it adds freshness and acidity.
• Green Onions – Mild onion flavor that brightens up the dish; chopped chives are a great alternative.
• Fresh Cilantro Leaves – A refreshing, herby garnish; feel free to omit if it’s not your favorite.
• Pickled Jalapeños – Adds just the right amount of heat; adjust the quantity to your spice preference.
How to Make Loaded Beef Nachos
-
Preheat Oven: Start by preheating your oven to 400°F (200°C). This will ensure a perfectly melted cheese topping!
-
Prepare Baking Sheet: Spray a baking sheet with non-stick cooking spray for easy cleanup. This helps the nachos come off smoothly once they’re baked.
-
Layer Chips: Spread the tortilla chips evenly across the prepared baking sheet, ensuring they are close together but not overlapping too much.
-
Sauté Onion: In a large skillet, heat olive oil over medium heat. Add diced onion and cook for about 5-6 minutes, stirring occasionally, until softened and slightly translucent.
-
Add Garlic and Beef: Stir in minced garlic, cooking for an additional 30 seconds until fragrant. Add the ground beef into the skillet, breaking it up as it cooks. Sauté until the beef is browned and no longer pink, then mix in taco seasoning and drain any excess fat.
-
Assemble Nachos: Spoon the beef mixture generously over the tortilla chips. Sprinkle with pickled jalapeños and both types of cheese for that melty goodness.
-
Bake to Perfection: Place the loaded tray in the oven and bake for about 5 minutes, or until the cheese is fully melted and bubbly—watch closely to prevent burning!
-
Top and Serve: Remove the nachos from the oven and top with dollops of sour cream, diced tomatoes, chopped green onions, and fresh cilantro before serving hot.
Optional: For a zingy twist, drizzle with hot sauce before serving!
Exact quantities are listed in the recipe card below.
What to Serve with Loaded Beef Nachos?
Imagine the perfect feast where your Loaded Beef Nachos are surrounded by delicious accompaniments that elevate your meal to a whole new level.
-
Guacamole: This creamy avocado dip adds a rich texture, balancing the crunchiness of the nachos with luscious flavors.
-
Salsa: A zesty and fresh side kick that complements the savory beef and cheese wonderfully, creating a delightful contrast of flavors.
-
Black Bean Salad: Packed with nutrients and vibrant colors, this refreshing salad provides a light contrast to the richness of the nachos while adding extra protein.
-
Fresh Corn on the Cob: The sweetness of grilled corn, brushed with butter and lime, offers a comforting side that beautifully aligns with the fiesta-like flavors of the nachos.
-
Margaritas: Sip on these refreshing cocktails to enhance the whole experience. Their citrusy zing pairs delightfully with the bold flavors of your nachos.
-
Chocolate Chip Cookies: For a sweet finish, these classic cookies offer comforting nostalgia, rounding out the meal with a warm dessert that’s always a crowd favorite.
Expert Tips for Loaded Beef Nachos
-
Cheese Grating: Grate your cheese the day before for quicker assembly and optimal meltiness when preparing your Loaded Beef Nachos.
-
Use Cast Iron: Consider using a cast-iron skillet for baking; it retains heat exceptionally well, ensuring your nachos stay warm longer.
-
Layering Technique: Layer the ingredients wisely. Start with chips, then beef, followed by cheese to prevent sogginess; don’t overload the chips!
-
Adjust Spice Levels: If you or your guests prefer less heat, adjust the quantity of pickled jalapeños as needed—balance is key for a successful Loaded Beef Nachos dish.
-
Personal Portions: For easier serving, prepare nachos on separate plates and quickly microwave them individually to control portions and customize toppings.
How to Store and Freeze Loaded Beef Nachos
Fridge: Store leftover nachos in an airtight container for up to 2-3 days. To maintain crispiness, keep toppings separate when storing.
Freezer: For best results, it’s advisable to freeze the beef mixture separately. It can be stored in an airtight container for up to 3 months.
Reheating: Reheat beef in a skillet over medium heat until warmed through. For nachos, reassemble with fresh toppings, and bake again at 350°F for about 5 minutes.
Make-Ahead Tip: Prepare the beef ahead of time and store it in the fridge for quick assembly when you’re ready to make your Loaded Beef Nachos.
Make Ahead Options
These Loaded Beef Nachos are perfect for meal prep enthusiasts! You can prepare the beef mixture up to 3 days in advance. Simply sauté the onion and garlic, cook the ground beef with taco seasoning, and let it cool before storing it in an airtight container in the refrigerator. If you want to save even more time, you can also pre-grate the cheeses and chop the fresh toppings like tomatoes and green onions, keeping them in separate containers. When you’re ready to enjoy, layer your chips, beef mixture, and cheese on a baking sheet and bake at 400°F (200°C) for about 5 minutes until cheese is melted. This way, you’ll have delicious Loaded Beef Nachos with minimal effort, allowing you to spend more time enjoying the game and your company!
Loaded Beef Nachos Variations
Feel free to make these Loaded Beef Nachos your own with these delightful twists!
- Pulled Pork: Swap the ground beef for tender pulled pork for a smoky flavor that’ll take your nachos to the next level.
- Spicy Kick: Add diced fresh jalapeños or a drizzle of your favorite hot sauce for an extra layer of heat.
- Vegetarian Delight: Use black beans or chickpeas instead of meat, and load up on veggies like bell peppers and corn for a hearty option.
- Cheese Bliss: Try a mix of gouda and pepper jack cheese for a creamier, more flavorful topping that’s sure to impress.
- Crunchy Additions: Top with crispy bacon bits for a salty crunch that pairs perfectly with the gooey cheese. Each bite will be a savory surprise!
- Flavorful Salsas: Serve with fresh mango salsa or pineapple salsa on top for a sweet and tangy contrast that’s oh-so-refreshing.
- Guacamole Galore: Add dollops of homemade guacamole on top right before serving for an instant upgrade in creaminess and taste.
- Nachos Supreme: Layer on some nacho cheese sauce along with the melted cheese for a truly indulgent experience that no one can resist!
Loaded Beef Nachos Recipe FAQs
What type of tortilla chips should I use for Loaded Beef Nachos?
Absolutely! For the best crunch, I recommend using thicker tortilla chips as they hold up better under the weight of the toppings. You can use store-bought chips for convenience or make your own by frying or baking your tortillas until crispy. Just cut them into triangles, brush with a little olive oil, sprinkle with salt, and bake at 350°F (175°C) for about 10-15 minutes until golden and crunchy.
Advertisement
How long can I store leftover Loaded Beef Nachos?
Very! You can store any leftover nachos in an airtight container in the refrigerator for up to 2-3 days. However, I suggest keeping the toppings like sour cream, diced tomatoes, and green onions separate to maintain the crispy texture of the chips. When you’re ready to enjoy them again, simply reheat them in the oven until warm and melty.
Can I freeze Loaded Beef Nachos?
Absolutely! While fully assembled nachos aren’t the best for freezing due to sogginess, you can freeze the beef mixture separately. Store it in an airtight container for up to 3 months. When you’re ready to serve, thaw the beef in the refrigerator overnight, and reassemble the nachos with fresh chips and toppings before baking them at 350°F for about 5 minutes to heat through.
What can I do if my nachos are soggy?
Oh no! If you find your nachos are soggy, you may have overloaded them or used a sauce that was too wet. To troubleshoot, ensure you’re using sturdy tortilla chips and layer your toppings thoughtfully. Start by placing a layer of chips, then a light layer of beef and cheese, avoiding excess tops. If they are already soggy, you could re-bake them on a baking sheet at 400°F for a few minutes to crisp them up a bit.
Are Loaded Beef Nachos suitable for people with dietary restrictions?
Very! You can definitely make Loaded Beef Nachos to suit various dietary needs. For a gluten-free version, make sure to choose certified gluten-free tortilla chips and seasonings. If someone has dairy allergies, try using dairy-free cheese alternatives and opt for guacamole instead of sour cream. Additionally, if anyone is vegetarian, you can easily substitute the ground beef with plant-based ground meat or even beans for protein.

Loaded Beef Nachos: The Game Day Snack Everyone Will Love
Ingredients
Equipment
Method
- Preheat your oven to 400°F (200°C) for a perfectly melted cheese topping.
- Spray a baking sheet with non-stick cooking spray for easy cleanup.
- Spread tortilla chips evenly across the baking sheet, ensuring they're close together but not overlapping.
- In a large skillet, heat olive oil over medium heat. Add diced onion and cook for about 5-6 minutes until softened.
- Stir in minced garlic and cook for 30 seconds until fragrant. Add ground beef, breaking it up while cooking. Sauté until browned, then mix in taco seasoning.
- Spoon the beef mixture over tortilla chips and sprinkle with pickled jalapeños and both types of cheese.
- Bake for about 5 minutes, or until the cheese is melted and bubbly. Watch closely to prevent burning.
- Remove from oven and top with sour cream, diced tomatoes, chopped green onions, and fresh cilantro before serving hot.


