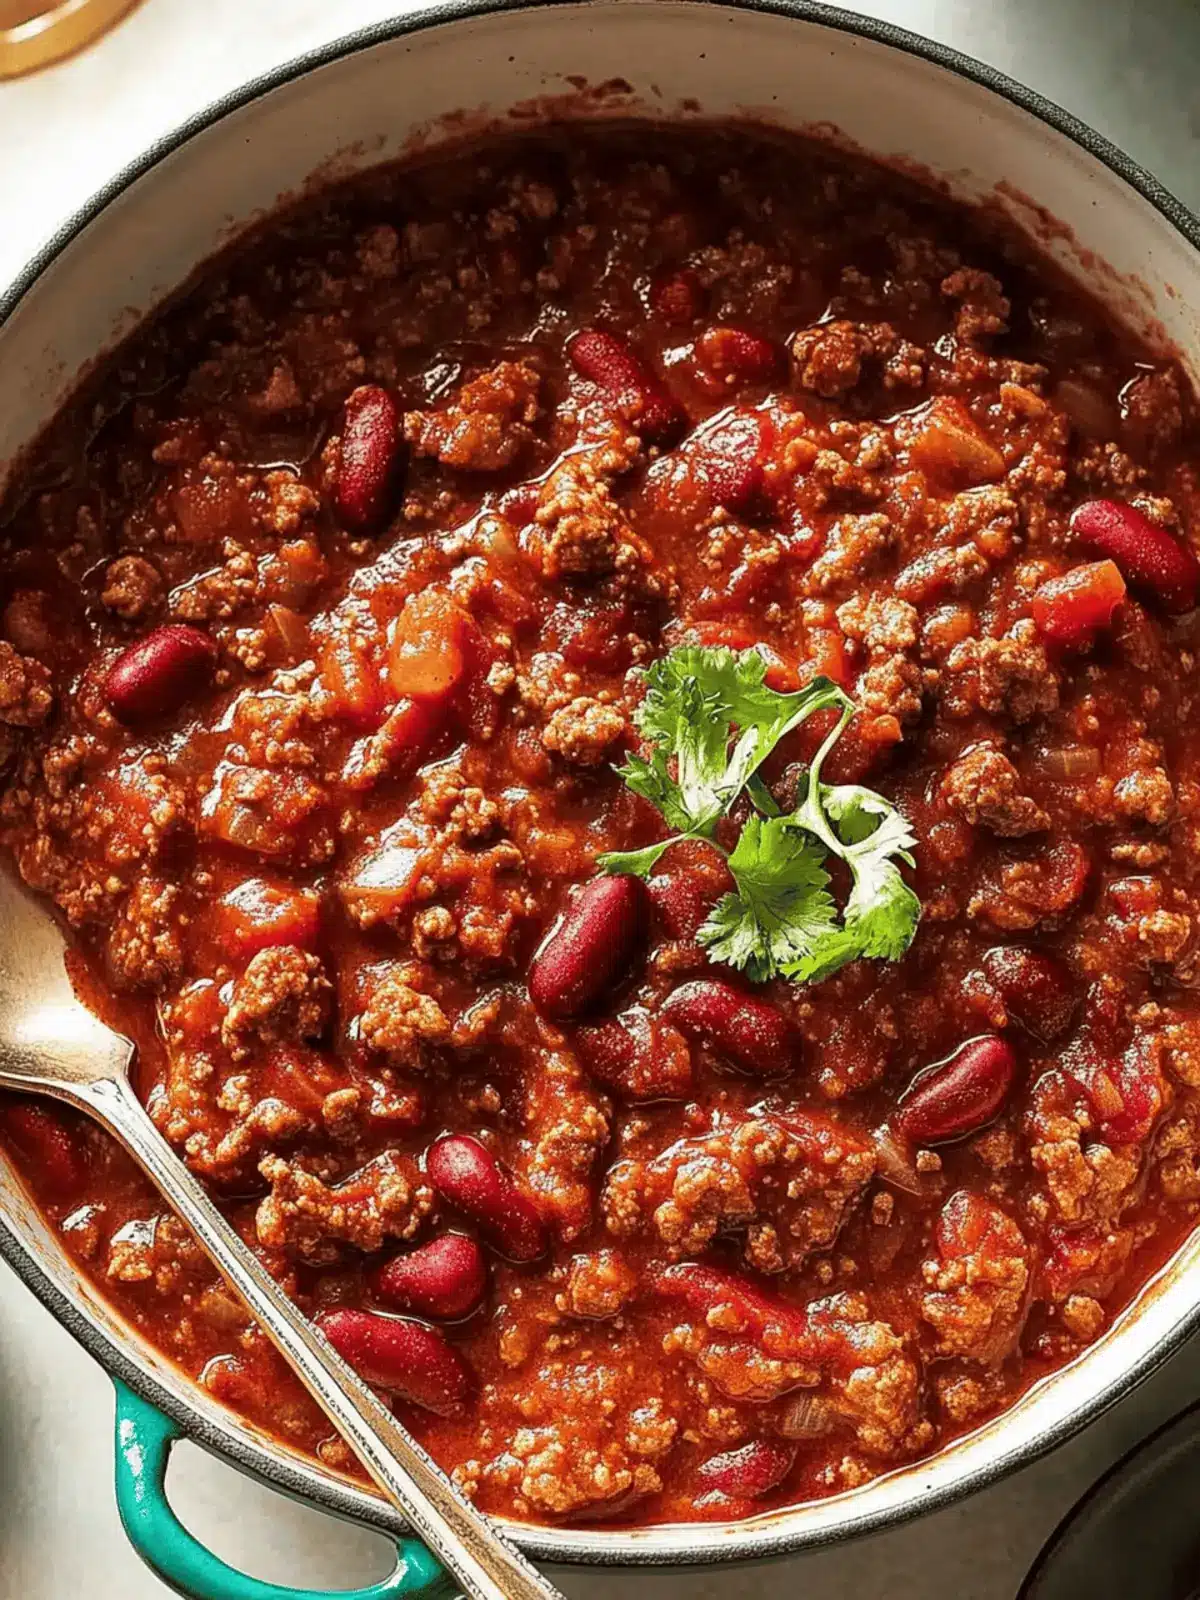
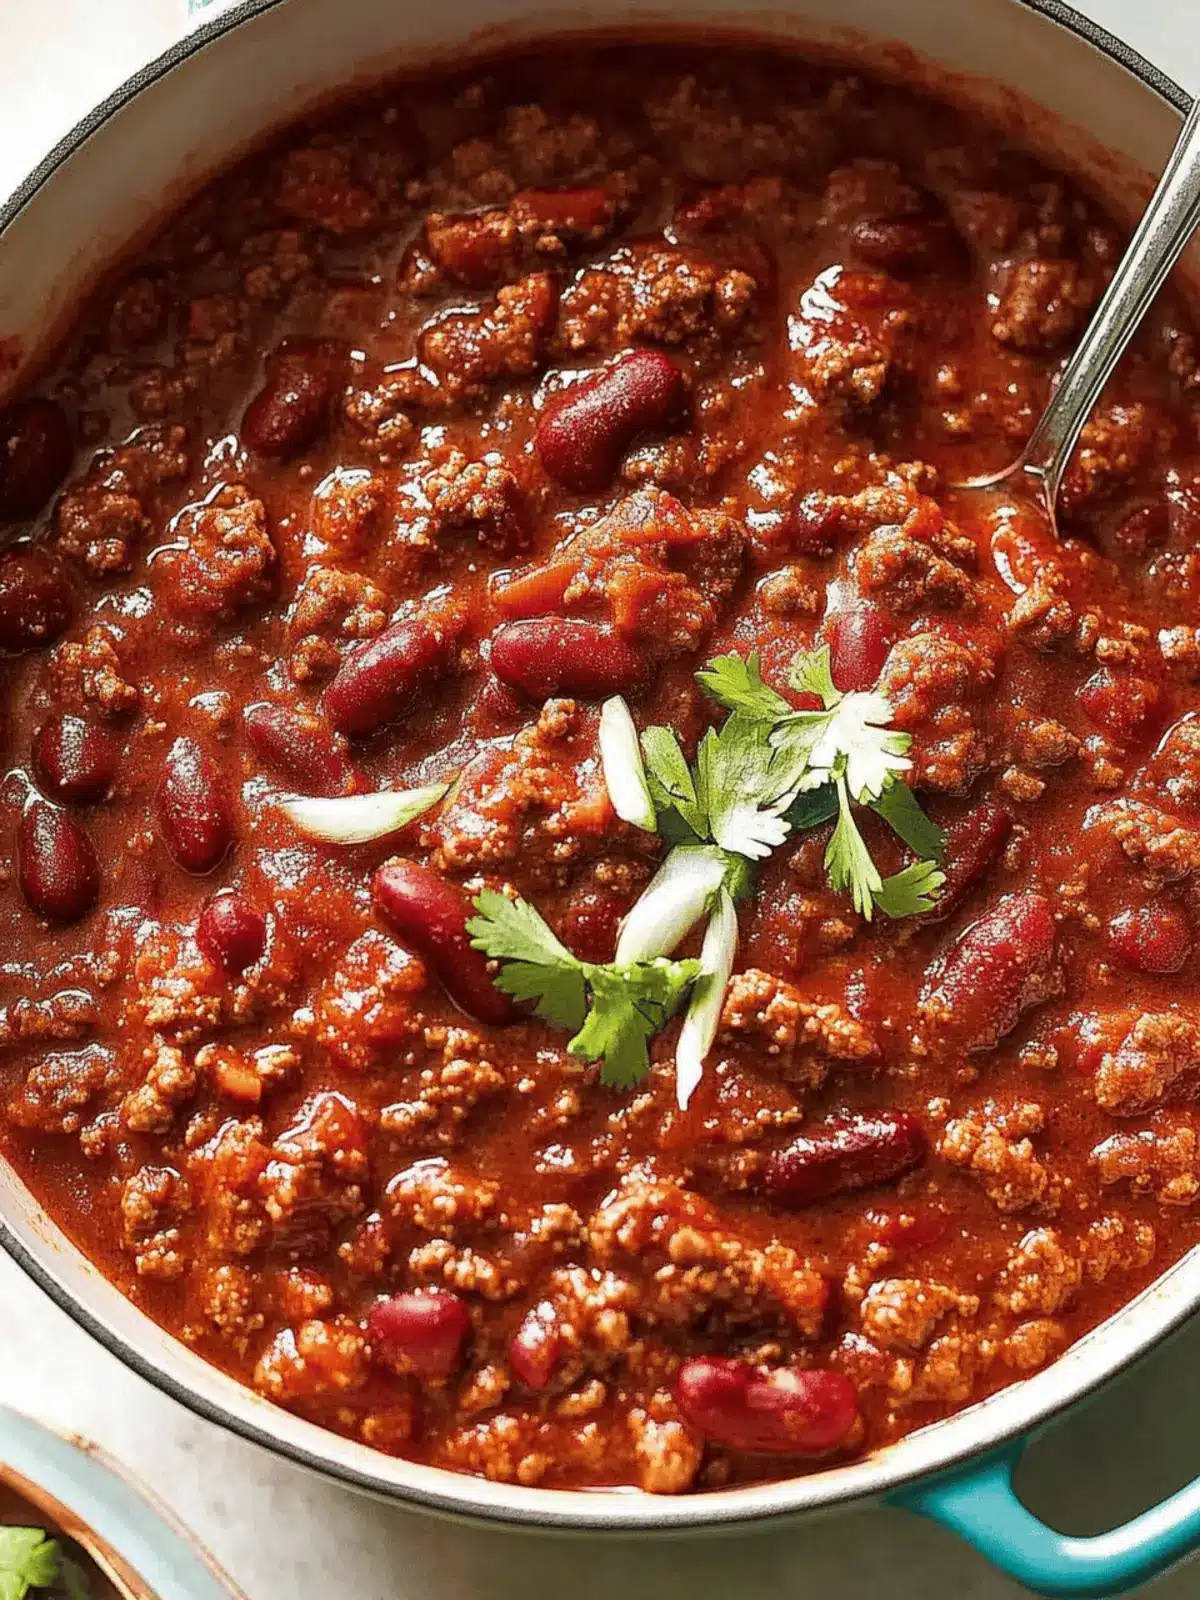
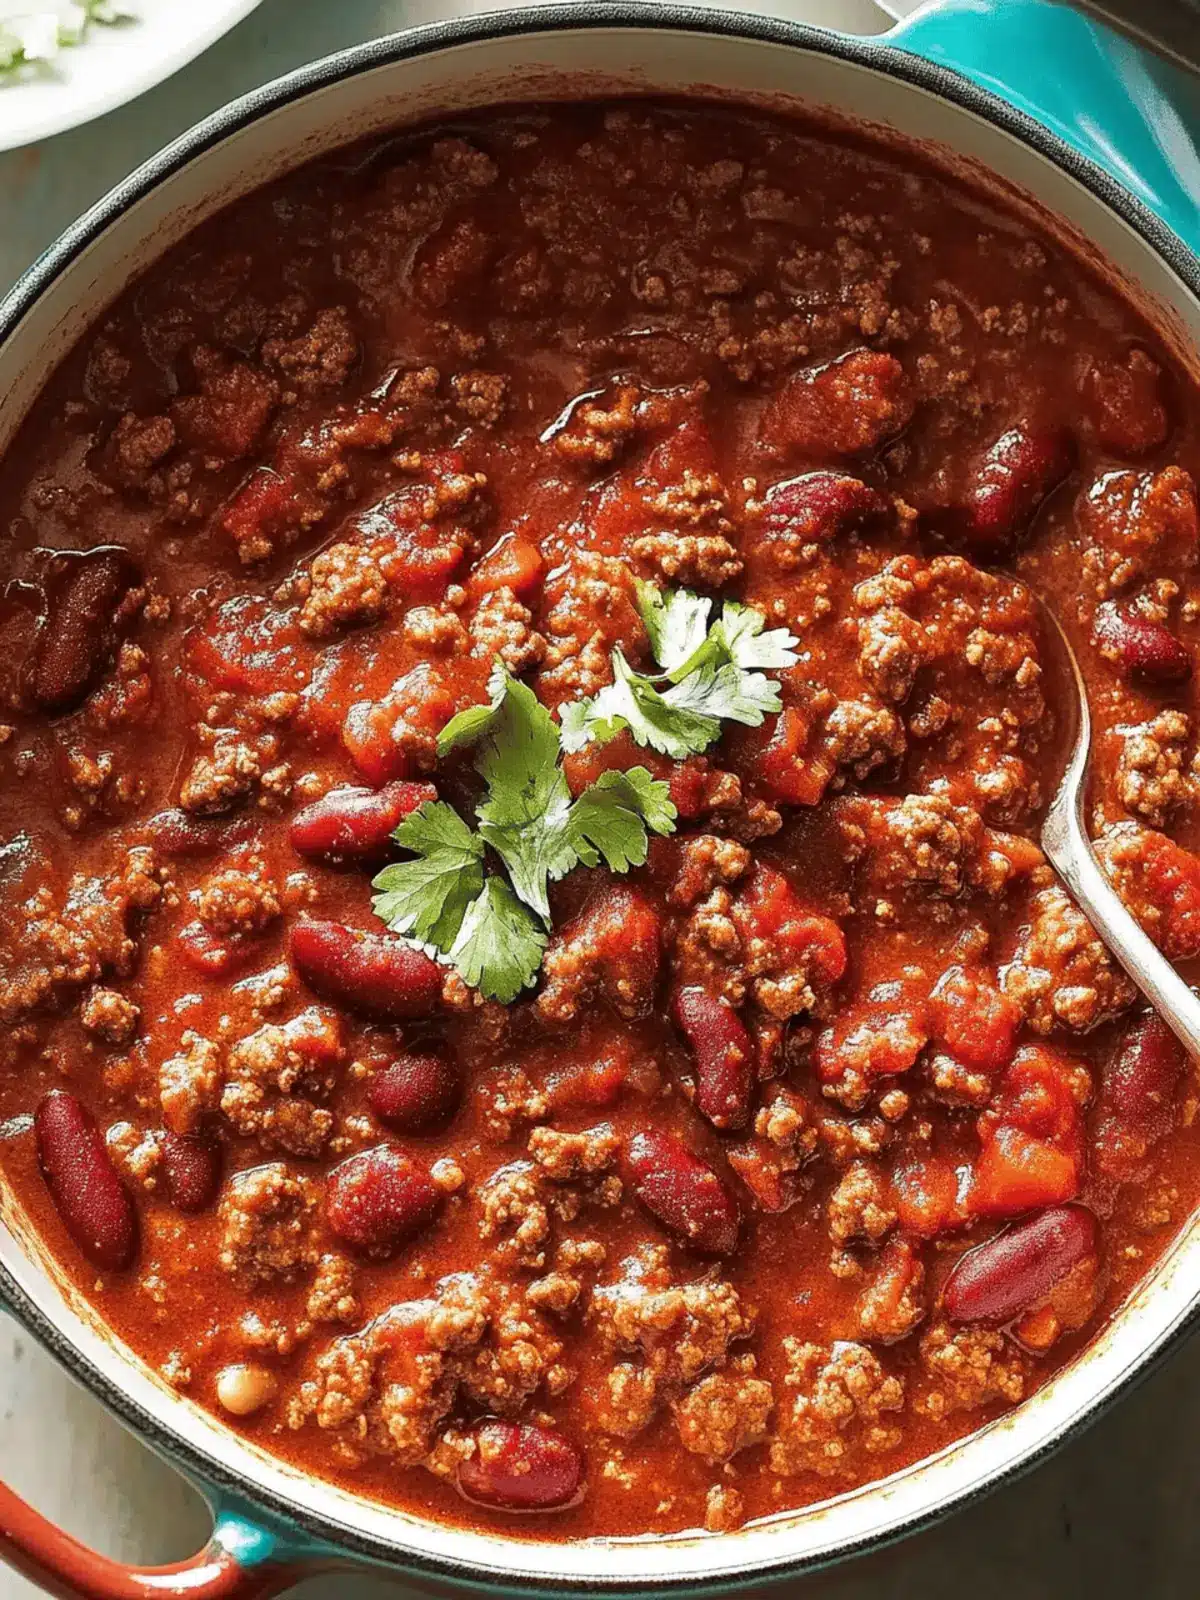
The first chill of autumn air wafted through my kitchen as I stood over the simmering pot of classic beef chili, the rich aroma of spices instantly enveloping me in a warm embrace. With just 10 minutes of prep and 40 minutes of cooking time, this dish transforms humble ingredients into a heartwarming feast that beckons to friends and family alike. As I stirred the bubbling pot, I couldn’t help but think about all the cozy evenings ahead, where leftovers might even taste better the next day!
This classic chili isn’t just a recipe; it’s a canvas for creativity. Whether you’re a meat lover or prefer a vegetarian twist, the variations are endless. Each bowl is a burst of flavors, from the robust heat of chili powder to the creamy comfort of beans. Perfect for weeknight dinners, potlucks, or a flavorful feast, you’ll find that this versatile dish becomes a staple in your home, providing warmth and satisfaction in every hearty spoonful. So grab your apron, and let’s dive into this delicious culinary journey!
Why is Classic Chili a must-try dish?
Flavorful Delight: Every bite of Classic Chili brings a satisfying blend of spices and textures that warms the soul.
Quick Preparation: With only 10 minutes of prep time, you’ll have a delicious meal ready in no time.
Versatile Options: Easily customizable, whether you prefer meatless versions or love the heartiness of ground beef.
Crowd-Pleasing Comfort: Perfect for potlucks, parties, or cozy evenings at home; everyone will ask for seconds!
Hearty Leftovers: This chili tastes even better the next day, making it a smart meal prep choice for busy schedules.
Make your cooking adventures easier by checking out our expert tips to make the perfect chili every time!
Classic Chili Ingredients
For the Base
- Extra-virgin olive oil – Essential for sautéing, helping to build a flavorful foundation.
- White onion – Brings a touch of sweetness and depth; yellow onion can be an easy substitution.
- Garlic – Freshly minced for that aromatic kick; feel free to adjust the amount to your taste.
- Tomato paste – Adds richness and is best cooked down for a few minutes to enhance sweetness.
For the Chili
- Ground beef – The heartiness of the dish; swap for ground turkey or vegetarian beans for a lighter twist.
- Chili powder – Gives classic chili its essential flavor; adjust for your preferred spice level.
- Dried oregano – Adds an earthy fragrance that complements the dish perfectly.
- Ground cumin – A beloved spice in chili, contributing to its warmth and depth.
- Paprika – Introduces a mild, sweet pepper flavor; using smoked paprika can elevate it further.
- Cayenne pepper (optional) – Adds heat for the spice lovers; omit if you prefer a milder option.
- Kosher salt – Essential for enhancing the flavors of all ingredients.
- Freshly ground black pepper – Provides seasoning that can be adjusted to personal taste.
For the Essential Ingredients
- Crushed tomatoes (28-oz. can) – This bulked-up chili ingredient adds texture and a touch of sweetness.
- Kidney beans (15-oz. can, drained) – Offers creaminess and protein; feel free to mix in other beans like black or pinto.
With these ingredients at your fingertips, you’re just moments away from preparing a delicious, soul-warming classic chili that everyone will love!
How to Make Classic Chili
- Heat Oil: In a large pot, warm up 2 tablespoons of extra-virgin olive oil over medium heat. Add your chopped white onion and sauté until soft and translucent, about 5 minutes.
- Add Garlic: Stir in 3 cloves of minced garlic, cooking briefly until fragrant, about 1 minute. This step enhances the aroma of your chili beautifully.
- Incorporate Tomato Paste: Mix in 2 tablespoons of tomato paste and cook it down for 2-3 minutes until it darkens slightly, developing a sweeter flavor.
- Cook Beef: Add 1 pound of ground beef into the pot, stirring well until browned, roughly 5-7 minutes. This will give your chili its hearty base.
- Spice It Up: Once the beef is browned, add in 2 tablespoons of chili powder, 1 teaspoon of dried oregano, 1 teaspoon of ground cumin, 1 teaspoon of paprika, and cayenne pepper to taste. Stir to combine all the spices nicely, allowing them to bloom in the heat.
- Add Tomatoes and Beans: Stir in a 28-ounce can of crushed tomatoes and a drained 15-ounce can of kidney beans, and bring everything to a boil, basking in those inviting aromas.
- Simmer: Reduce heat to low and let your chili simmer uncovered for about 20-30 minutes, stirring occasionally. This will thicken the chili and develop the rich flavors.
- Season to Taste: Before serving, season with kosher salt and freshly ground black pepper to taste. Adjust these to suit your preference.
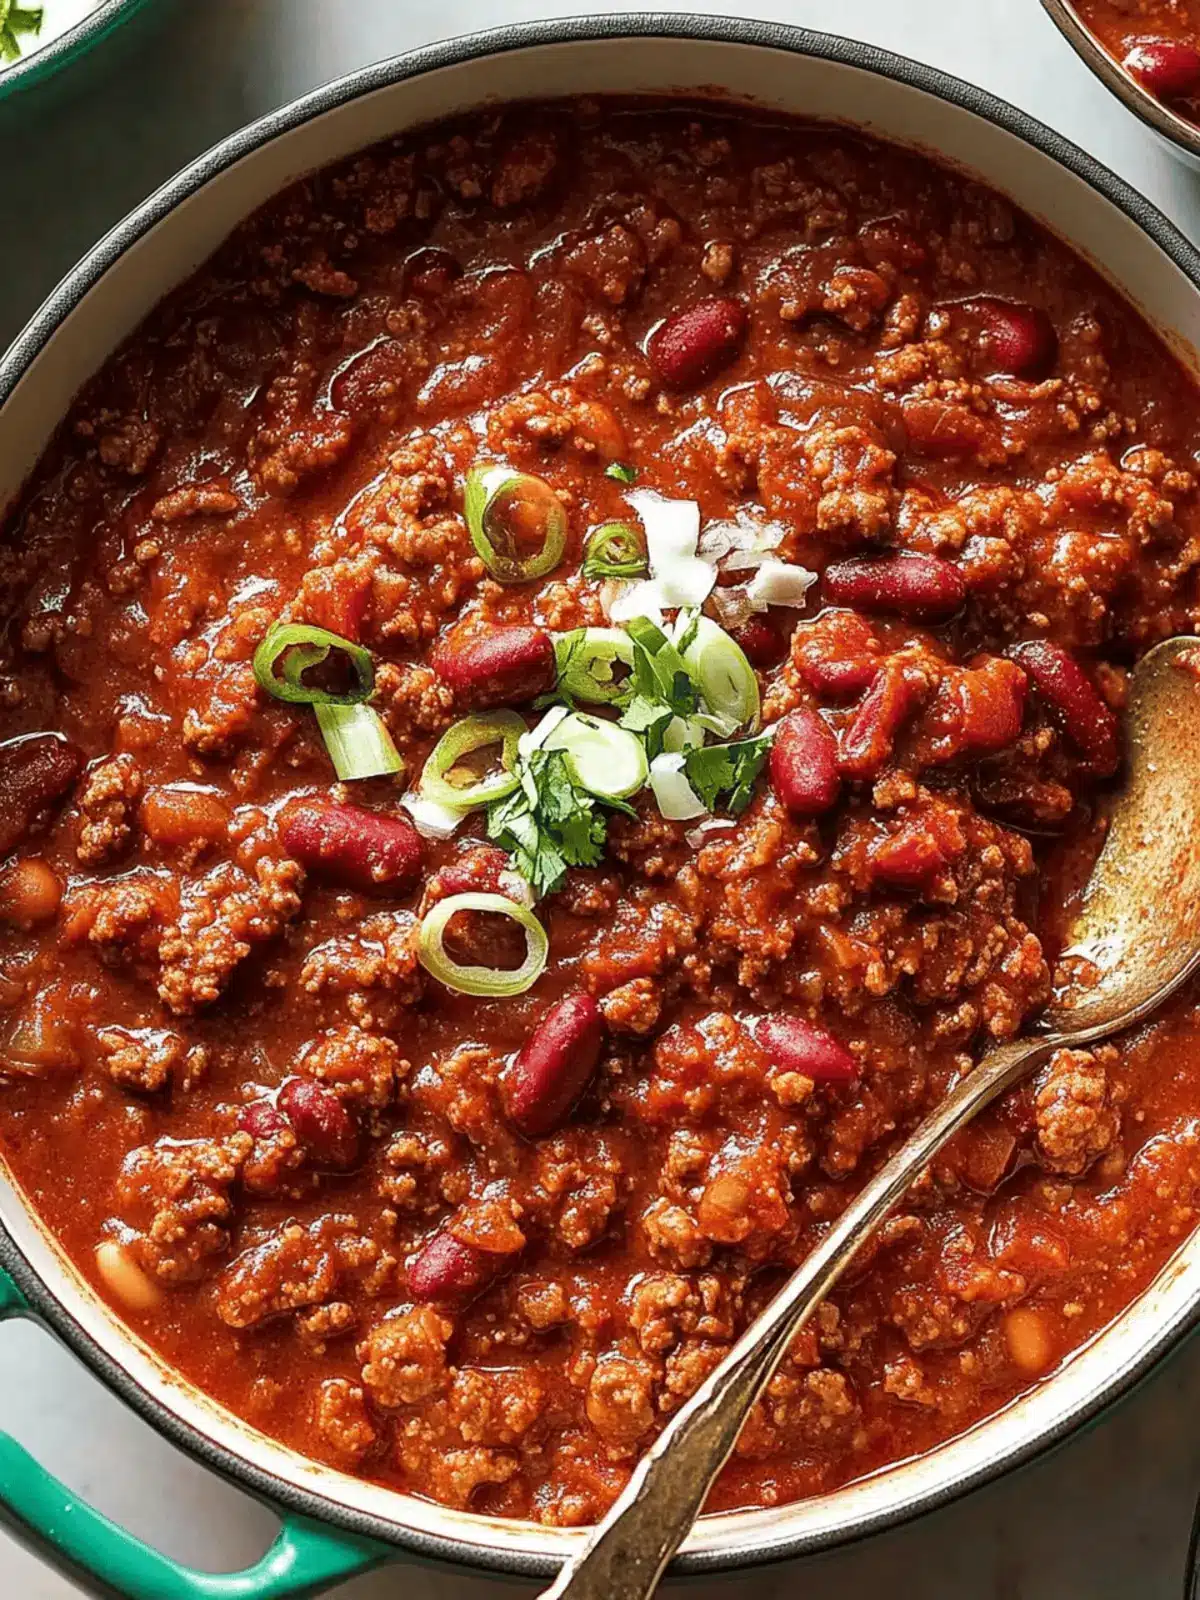
- Serve Warm: Ladle the chili into bowls and garnish with your favorite toppings like shredded cheddar, sour cream, and sliced scallions for a delightful finish.
Optional: Add a sprinkle of fresh cilantro for an extra pop of color and flavor.
Exact quantities are listed in the recipe card below.
How to Store and Freeze Classic Chili
Fridge: Store your classic chili in an airtight container in the fridge for up to 3-5 days. It often tastes even better the next day as the flavors meld.
Freezer: For longer storage, freeze chili in freezer-safe containers or bags for up to 3 months. Be sure to leave some space for expansion as it freezes.
Reheating: When ready to enjoy, thaw overnight in the fridge if frozen, then reheat on the stove over medium heat or in the microwave until heated through.
Airtight Tips: Always make sure to cool the chili completely before sealing and storing to maintain the best texture and flavor.
Expert Tips for Classic Chili
- Don’t Rush Simmering: Allowing the chili to simmer thoroughly lets flavors deepen; rushing can result in a thin chili instead of the hearty classic chili you crave.
- Adjust Seasoning Gradually: Taste and adjust your spices slowly; it’s easier to add more heat than to fix an overly spicy chili.
- Use Quality Ingredients: Fresh garlic and aromatic spices greatly enhance the flavor profile of classic chili; don’t skimp on quality!
- Layer Flavors: Consider sautéing your spices briefly before adding liquids for a richer, deeper flavor in your classic chili.
- Perfecting Leftovers: Chili often improves in flavor overnight; store in an airtight container, and reheating is a breeze!
Classic Chili Variations
Feel free to unleash your creativity with these enticing twists on classic chili, every spoonful bursting with new flavors!
- Vegetarian Delight: Swap ground beef for a mix of three bean varieties for a hearty, meatless option. You’ll be amazed at how filling it can be!
- Greek Twist: Use ground lamb and add feta cheese for a Mediterranean spin that brings a fresh flavor profile to this comforting dish.
- Cincinnati Style: Serve your chili over spaghetti and top with shredded cheese and oyster crackers for a unique twist that’s sure to surprise your taste buds.
- Smoky Flavor: Feature smoked paprika instead of regular for a subtle, smoky dimension that adds warmth and intrigue.
- Firecracker Heat: Experiment with adding chopped jalapeños or a splash of hot sauce for those who crave an extra kick in their chili.
- Sweet and Spicy: Add a tablespoon of honey or brown sugar to balance the heat and deepen the flavor of the spices, creating a delightful surprise in every bite.
- Southwestern Flair: Incorporate corn and black beans, along with seasoning from taco spices, for a flavorful twist that captures the taste of the Southwest.
- Chunky Veggie Boost: Toss in diced bell peppers, zucchini, or carrots for an added burst of color and nutrition while enhancing the chili’s heartiness.
Each variation brings its own personality to the table, making every pot of chili a delightful new adventure!
Make Ahead Options
These Classic Beef Chili preparations are a lifesaver for busy home cooks looking to save time! You can chop the onions and garlic, mix the spices, and even brown the meat up to 24 hours in advance. Store these components in an airtight container in the refrigerator to maintain freshness. When you’re ready to enjoy your chili, simply heat the prepped ingredients in a pot, add the crushed tomatoes and beans, and let it simmer for about 20-30 minutes. This approach not only ensures that your chili is just as delicious but also allows the flavors to meld beautifully. With these make-ahead options, a comforting meal is just moments away!
What to Serve with Classic Beef Chili?
Cozy up your meal with delightful pairings that elevate the heartiness of your chili to a whole new level.
-
Cornbread Muffins: Soft and slightly sweet, these muffins soak up the chili’s rich broth beautifully while adding a comforting texture.
-
Steamed Rice: Serve your chili over a bed of fluffy white or brown rice—it’s a perfect way to balance the robust spices and create a filling dish.
-
Grated Cheese: A generous sprinkle of sharp cheddar or Monterey Jack adds a creamy richness and a delightful contrast to the spiciness of the chili.
-
Guacamole: Creamy and fresh, guacamole provides a refreshing temperature contrast and rich flavor that pairs splendidly with spicy chili.
-
Sour Cream: A dollop of sour cream smooths out the heat, lending a tangy touch that brings the chili’s flavors together beautifully.
For a sweet finish, try serving chili with warm brownie bites; their fudgy richness will round out your comforting meal. These pairings not only enhance the flavors but also create a cozy dining experience that everyone will love!
Classic Beef Chili Recipe FAQs
How do I choose the best ingredients for classic chili?
Absolutely! When selecting ingredients, opt for firm, fresh vegetables like onions without dark spots or blemishes. For canned items like crushed tomatoes or beans, check for no dents in the can. Fresh garlic should be firm and fragrant. If you’re using ground beef, look for a higher fat content (like 80/20) for a richer flavor.
How should I store leftover classic chili?
Leftovers can be stored in an airtight container in the fridge for up to 3-5 days. I personally find that the chili flavors meld beautifully overnight, making it even tastier the next day. Just make sure it cools completely before sealing it up!
Advertisement
Can I freeze classic chili, and how should I do it?
Yes, you can! Freeze the classic chili in freezer-safe containers or bags for up to 3 months. Remember to leave some space at the top of the container to allow for expansion. To thaw, place it in the fridge overnight, then reheat it on the stove or microwave until hot. This way, you’ll enjoy a bowl of warmth ready whenever you need it!
What should I do if my chili is too spicy or burnt?
If your classic chili turns out too spicy, you can reduce the heat by adding a dollop of sour cream or mixing in a bit of sugar to balance the flavors. In case of a burnt taste, carefully transfer the unburned chili to a new pot, then add a splash of broth or water to help mask bitterness. Ground cinnamon can also help in masking that burnt flavor—just a pinch!
Is classic chili suitable for those with dietary restrictions?
Yes! This recipe is super versatile. You can easily make it gluten-free by using certified gluten-free spices and ingredients. For vegetarians, simply substitute the ground beef with a mix of your favorite beans, such as black beans and chickpeas. Always double-check that your chosen toppings (like cheese or sour cream) meet dietary needs!
How long can I keep classic chili in the freezer?
Classic chili can be safely frozen for up to 3 months. To preserve optimal flavor and texture, make sure you allow the chili to cool completely before transferring it to a freezer-safe container. When you’re ready to enjoy it again, just thaw overnight in the fridge and warm it up nicely before serving.

Ultimate Classic Chili: Hearty Comfort Food Made Easy
Ingredients
Equipment
Method
- Heat 2 tablespoons of extra-virgin olive oil in a large pot over medium heat, then sauté the chopped white onion until soft and translucent, about 5 minutes.
- Stir in 3 cloves of minced garlic and cook briefly until fragrant, about 1 minute.
- Mix in 2 tablespoons of tomato paste and cook for 2-3 minutes until it darkens slightly.
- Add 1 pound of ground beef, stirring well until browned, roughly 5-7 minutes.
- Add 2 tablespoons of chili powder, 1 teaspoon of dried oregano, 1 teaspoon of ground cumin, 1 teaspoon of paprika, and cayenne pepper to taste. Stir to combine.
- Stir in a 28-ounce can of crushed tomatoes and a drained 15-ounce can of kidney beans, and bring to a boil.
- Reduce heat to low and let simmer uncovered for about 20-30 minutes, stirring occasionally.
- Season with kosher salt and freshly ground black pepper to taste.
- Ladle the chili into bowls and garnish with your favorite toppings.


